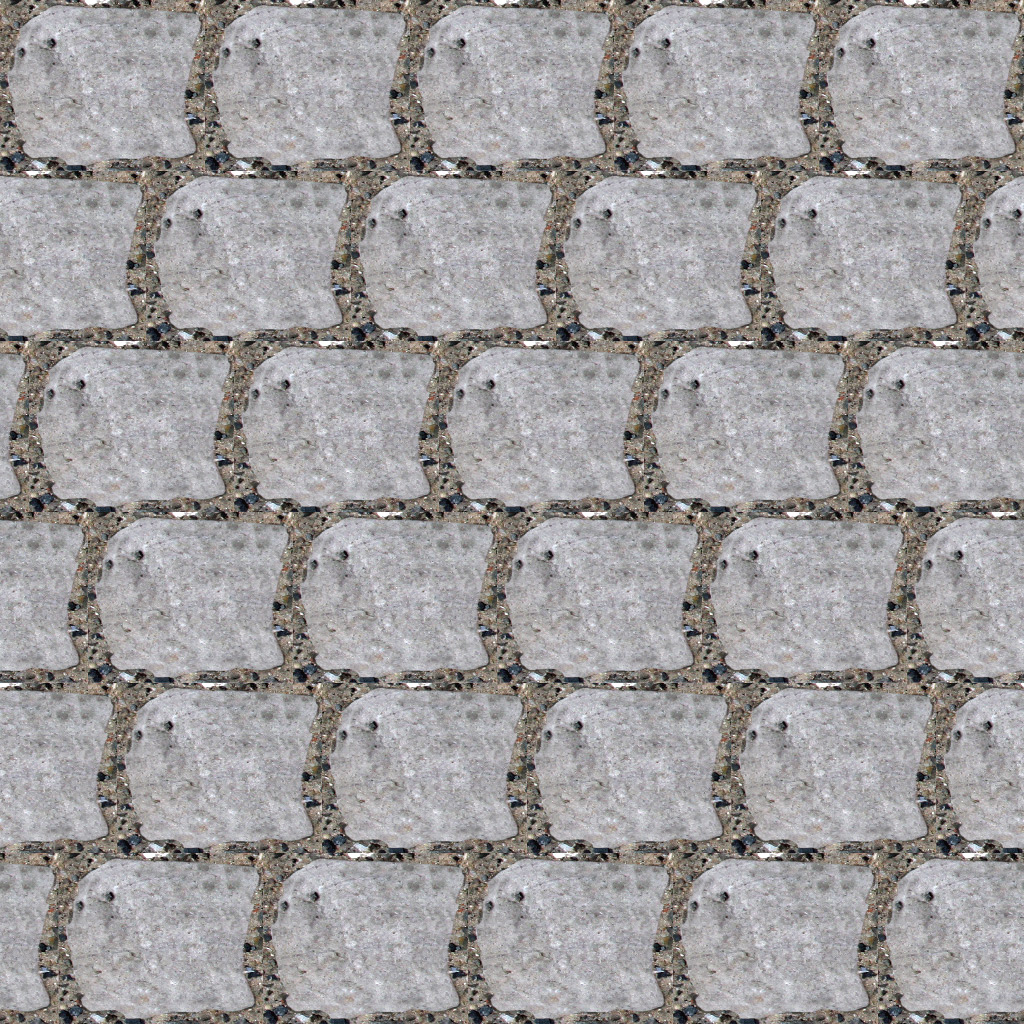
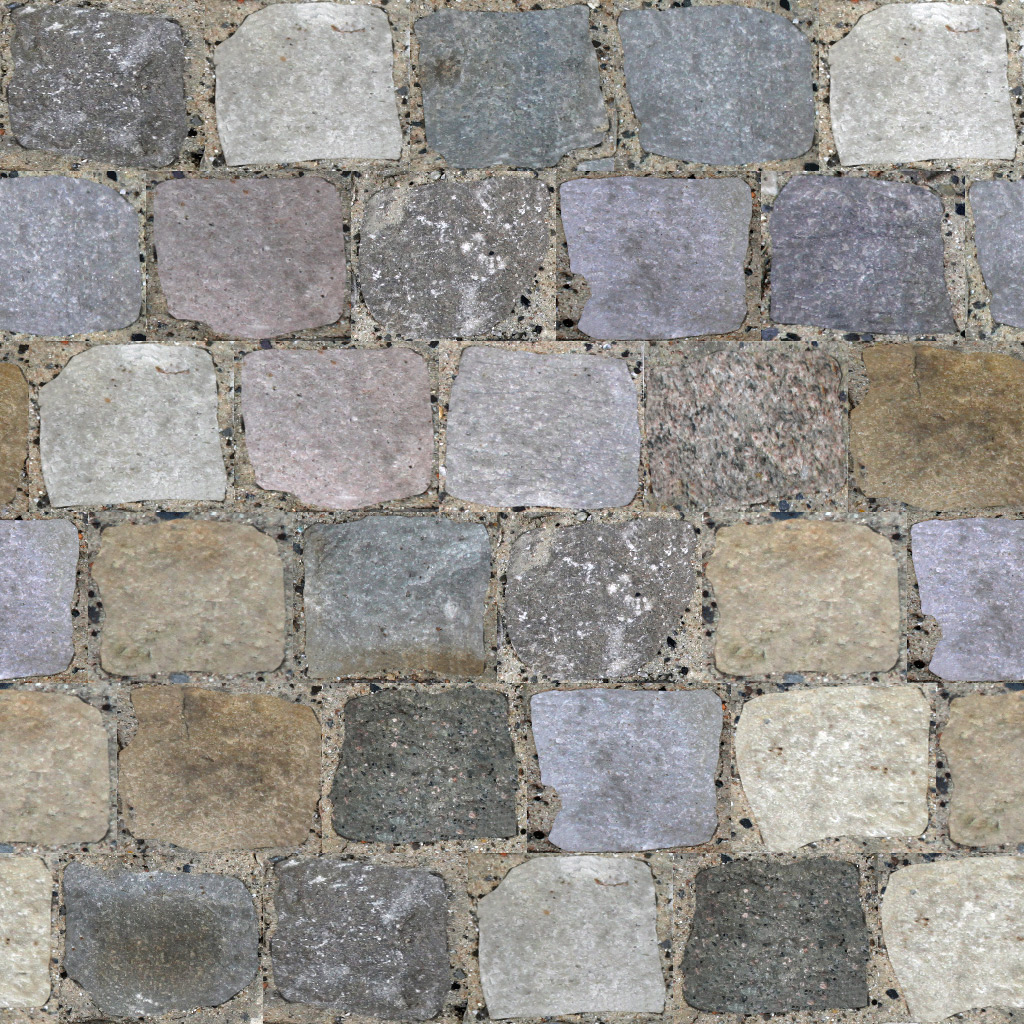
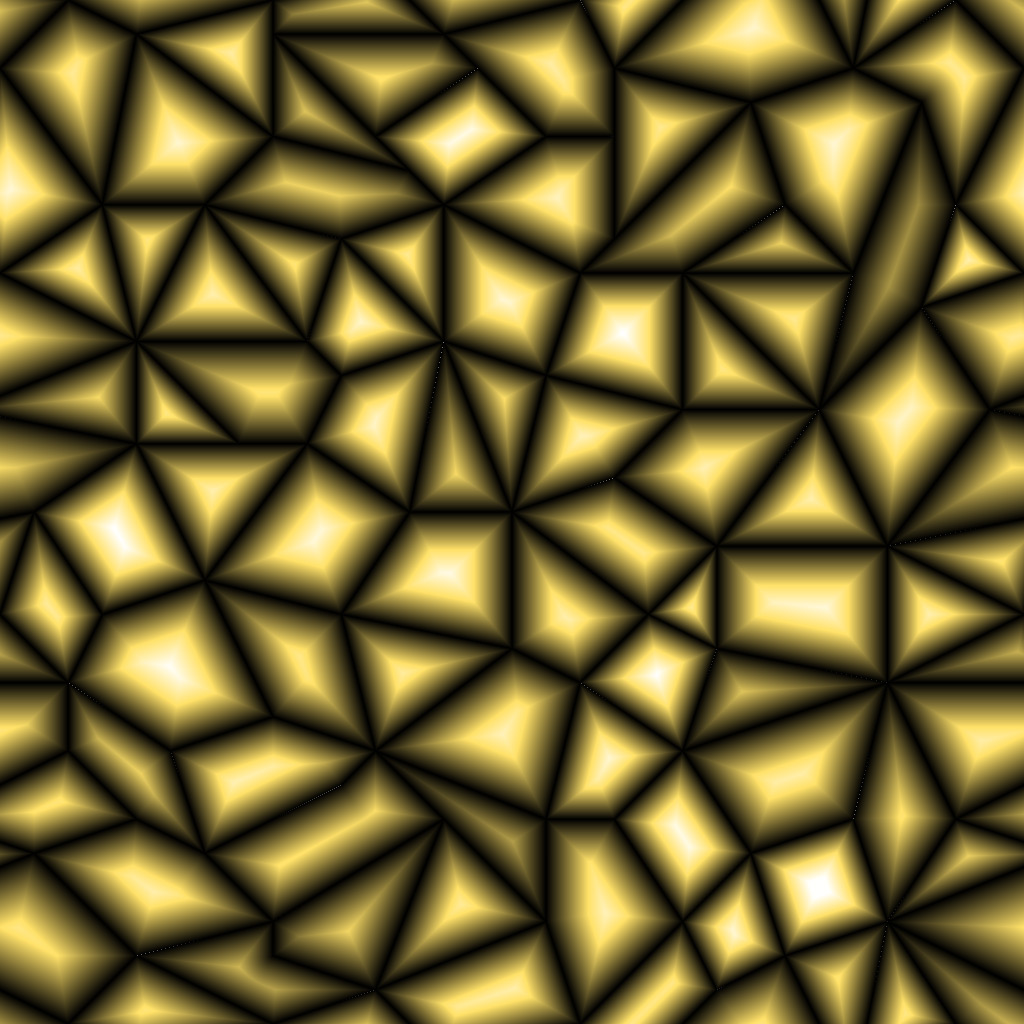
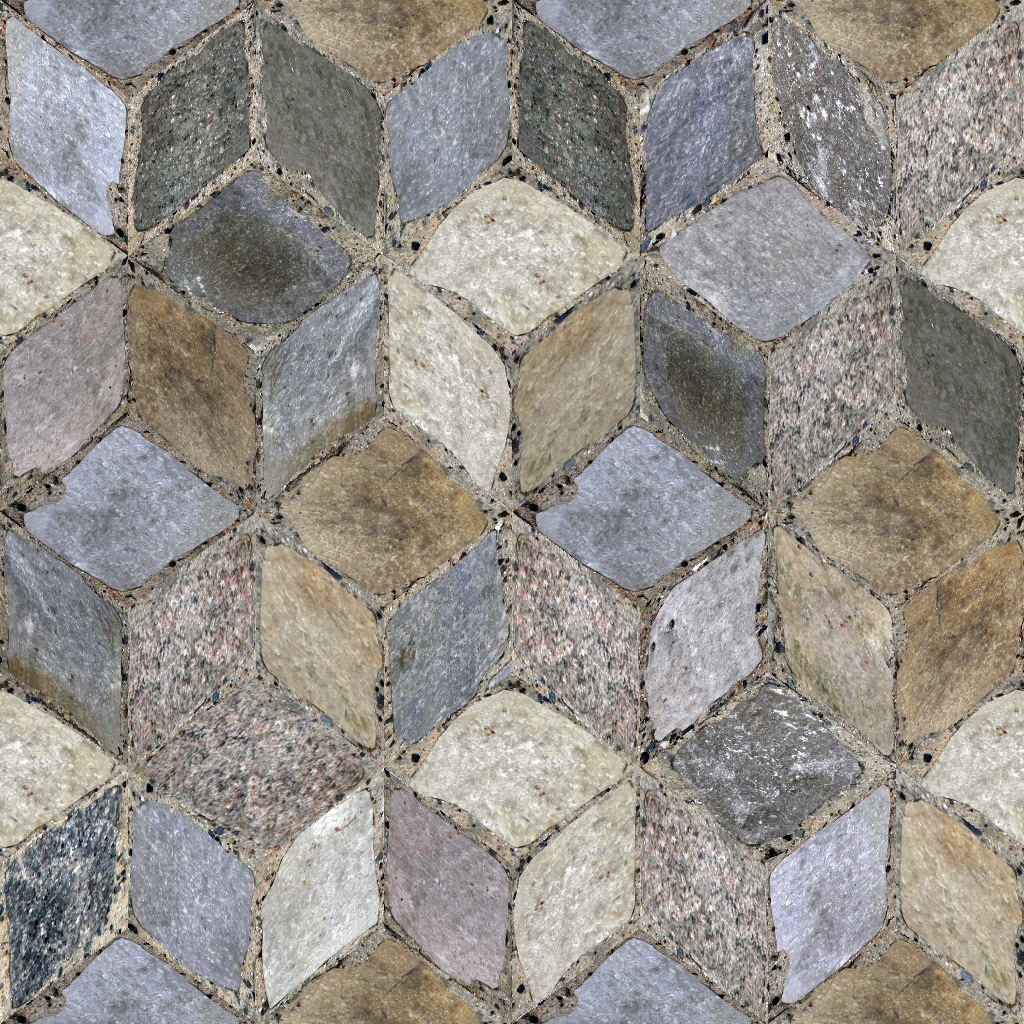
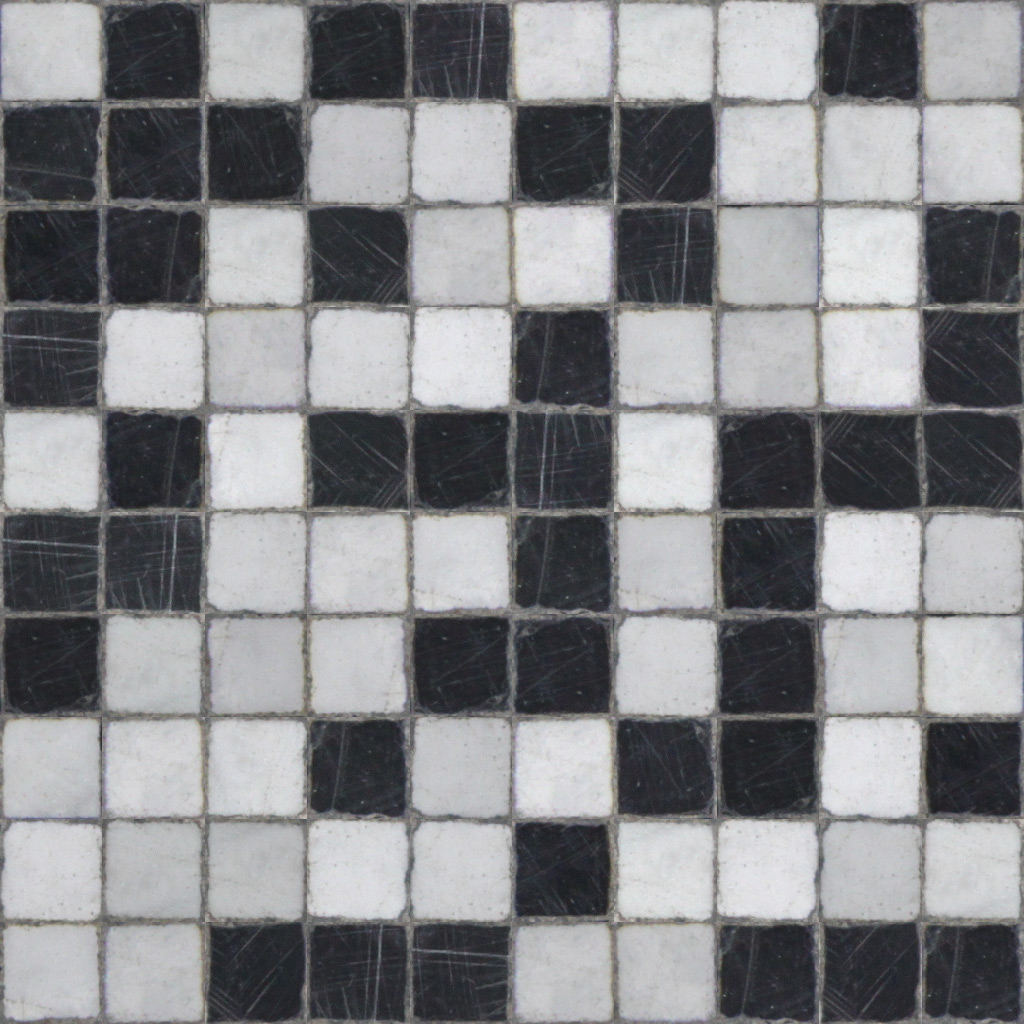
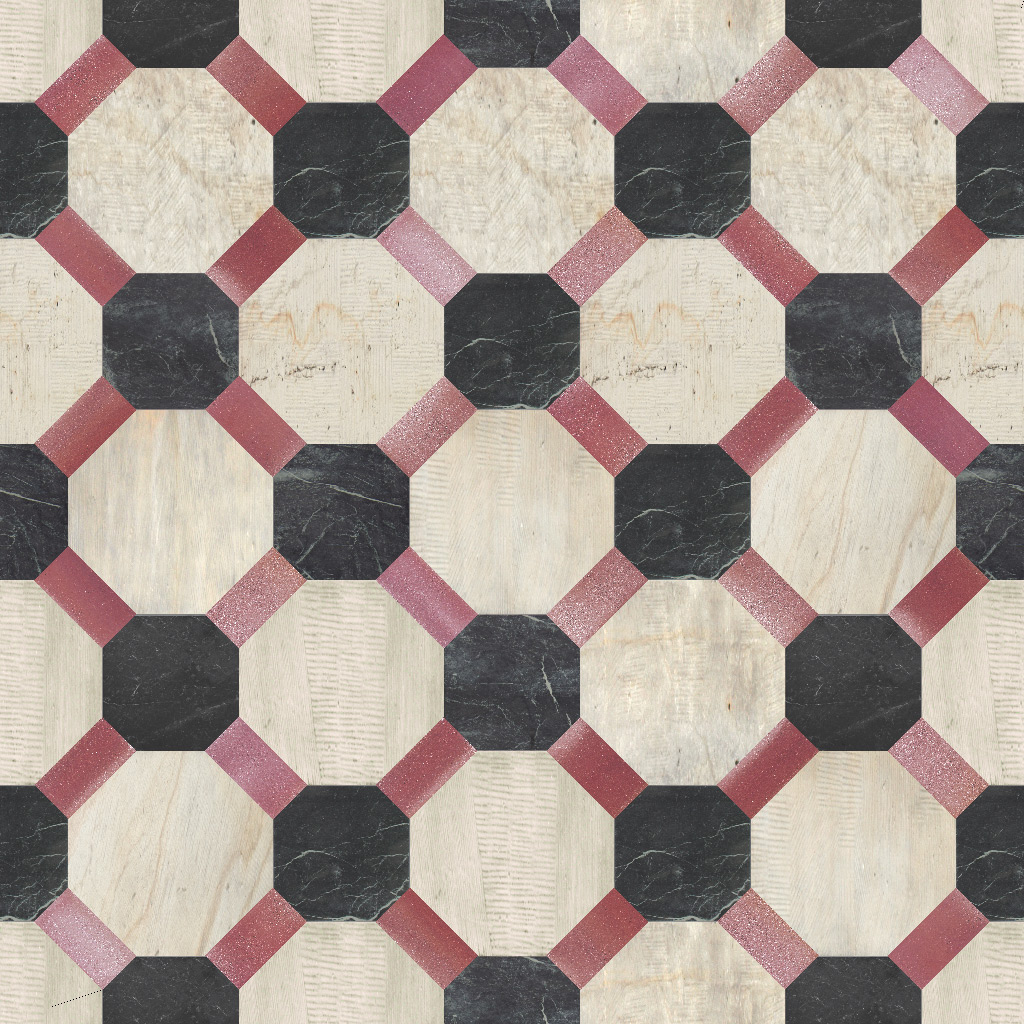
What is OMNITILES ?
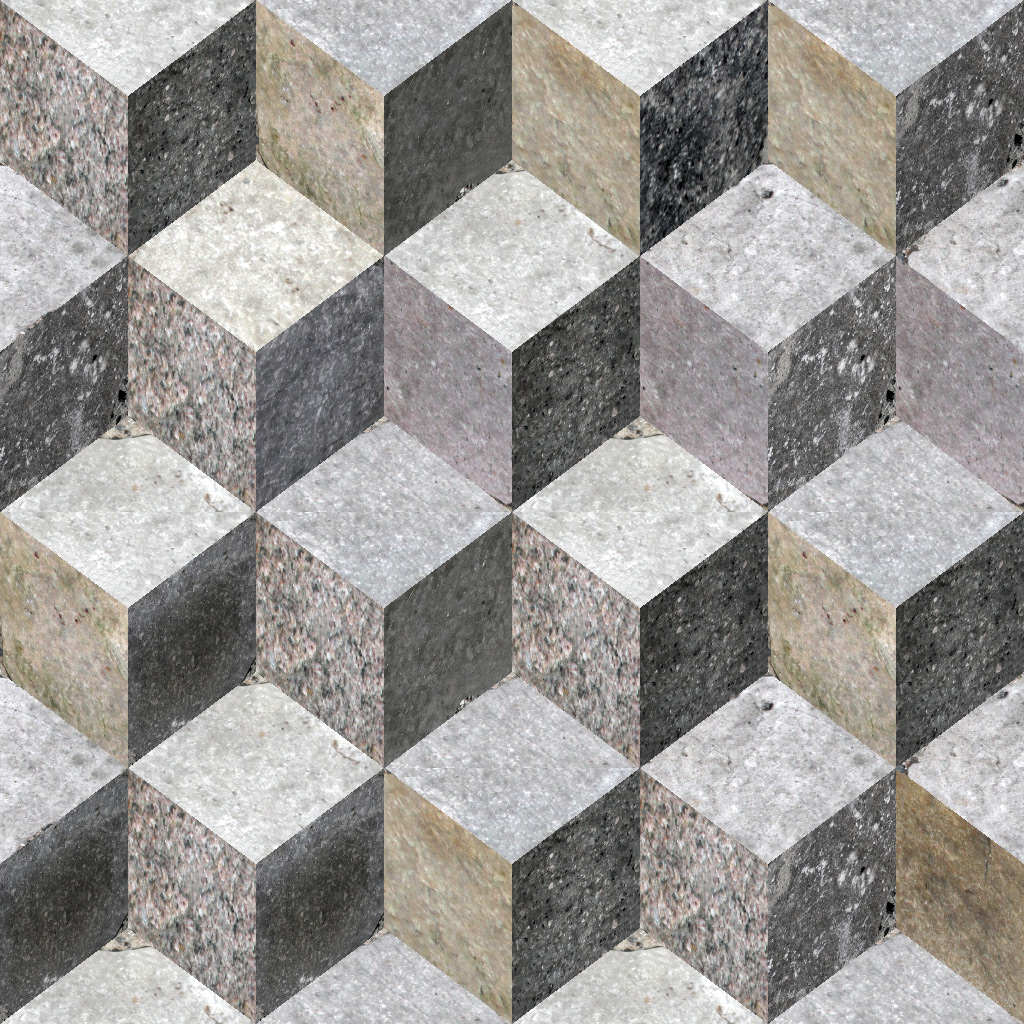
OMNITILES is a 3DS MAX® shader that creates any types of patterns based on editable shapes. Walls & Tiles and other plugins usually only allow square shaped patterns like standard brick walls or tiled floors. OMNITILES surpasses that limitation and offers complete freedom in the way patterns can be created and edited in materials.
Standalone reference guide - Go HereWhat are the differences between Omnitiles, Walls & Tiles, Mosaic and Crossmap ?
Please view the separate feature comparison chart for more details on what unique to each product.
OMNITILES – User Interface and general parameters
The full product Omnitiles consists of three main parts, the Omnitiles – SHADER, the Omnitiles – PATTERN EDITOR and the Omnitiles – LIBRARY which includes pattern files and map + material presets that can be loaded with Material Manager. The three parts are documented in detail below. If you are having problems using Omnitiles and the documentation won´t help, please submit a support ticket or use the user forum.
About
HEADER
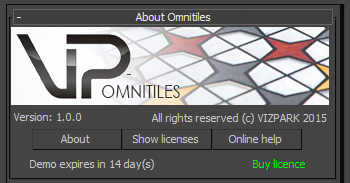
The header includes the version number, an about screen, a link to the activation dialog / License Viewer and a link to the online documentation (this page).
About
The about button opens a window with information about the version number, the developers, and a weblink to the CHANGELOG.
Activate / Show License
The ACTIVATE button / SHOW LICENSE button (if activated) enables the activation screen or License Viewer. Further information about Licensing and Activation .
Online Help
This button links to the documentation page (this page) directly.
Demo expiration / Buy License
If Omnitiles is used as a Demo, the demo expiration will be shown here (14 days in total). Buy License is a weblink to the online shop where Omnitiles can be purchased. Both the demo notification and the buy license button will disappear when Omnitiles is activated.
Omnitiles Presets and Material Manager
Load Preset
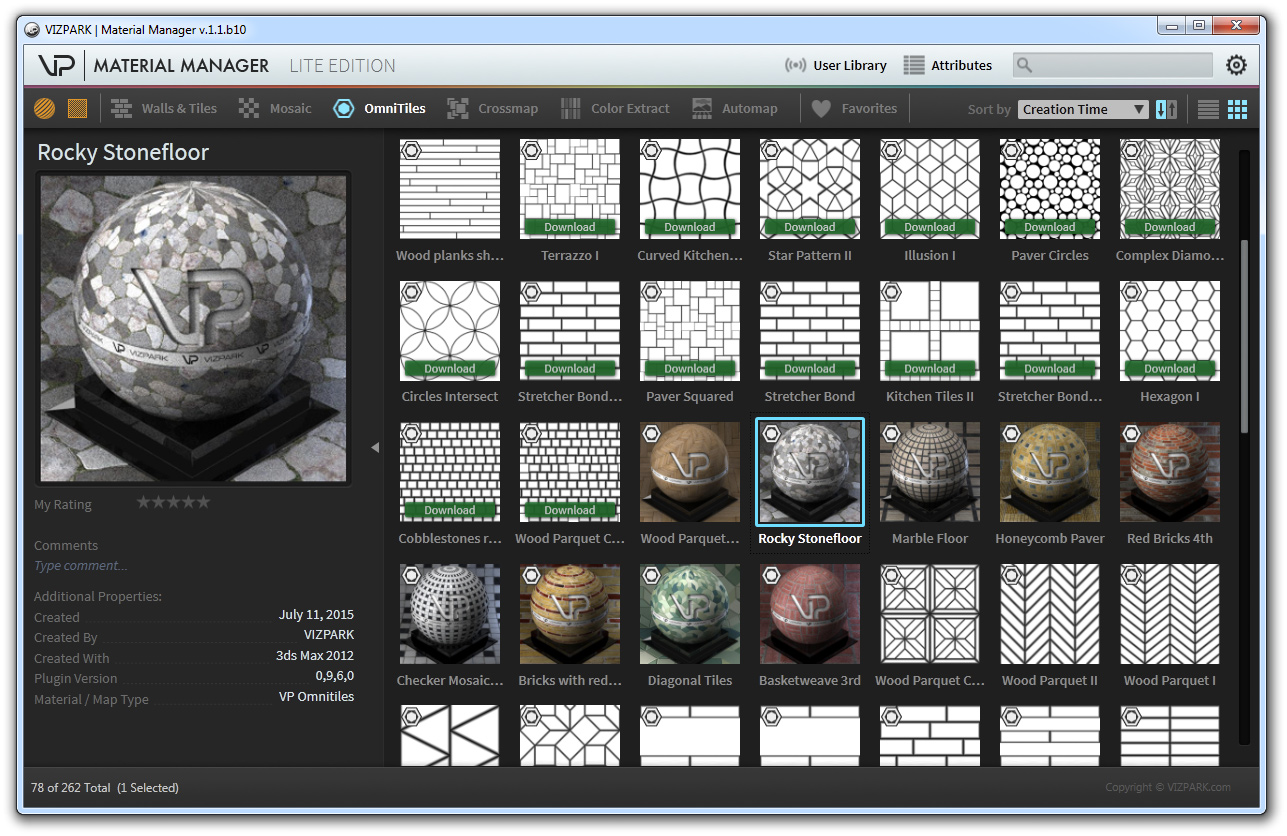
Load Preset will open the Material Manager in Omnitiles MAP MODE. This means, only Omnitiles map presets will be shown. Double click or LOAD on the bottom right corner will load the preset and it´s pattern.
Save Preset
Save Preset will save a Omnitiles map preset into the Material Manager. The included pattern and associated maps are also saved, as well as a map thumbnail (600 x 600 pixel) that will be rendered during this process.After saving the files and rendering the thumbnail, Material Manager will open, so you can define attributes for the preset.
Open Manager
Open Manager will open Material Manager in general mode that shows ALL available presets stored in Material Manager and its database. This way you can also replace an Omnitiles map or material with a different material or assign other materials directly to your objects from within Material Manager.
Further information about Material Manager can be found in the Material Manager Documentation:
Omnitiles Pattern Editor
Omnitiles Pattern Editor
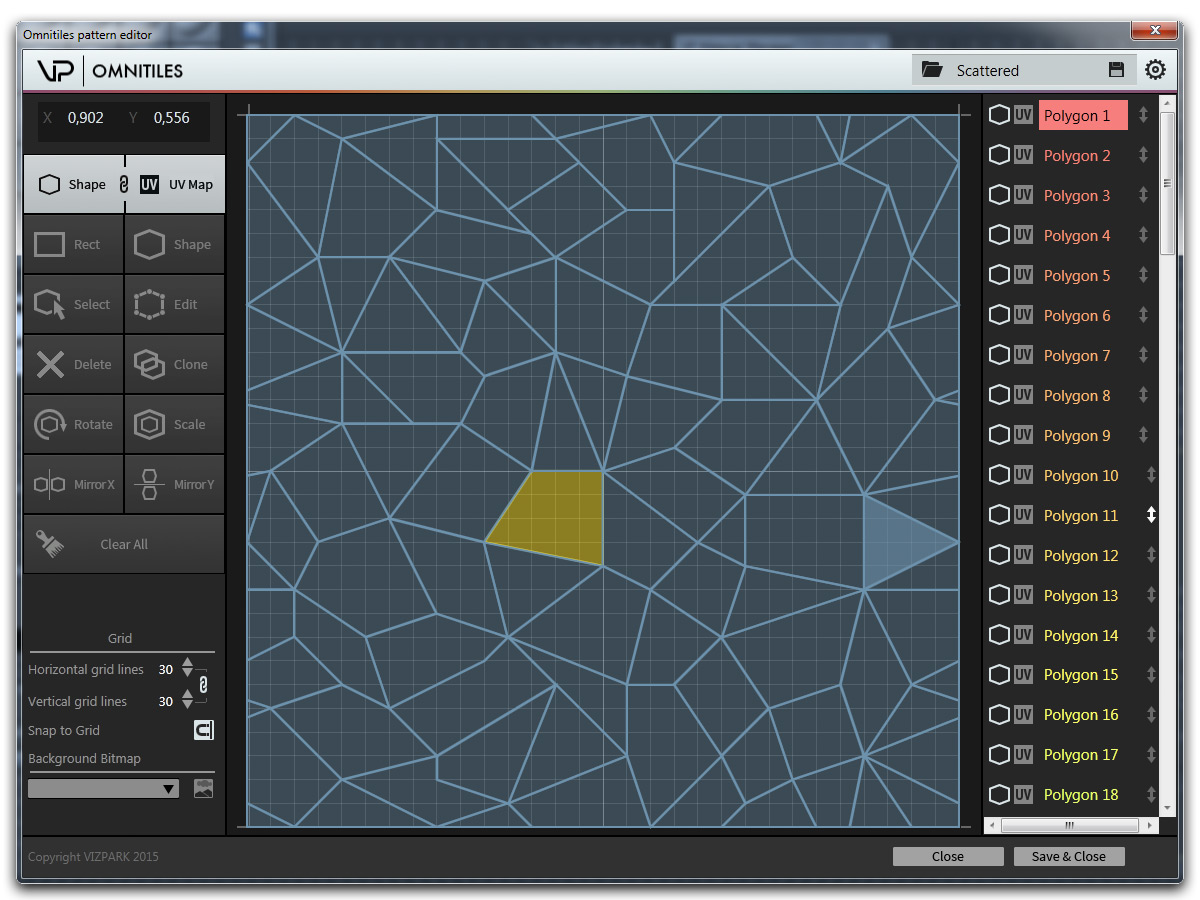
The Omnitiles Pattern Editor could be considered the heart of Omnitiles. A lot of effort went into the editor to make pattern creation as easy and straightforward as possible. Creating patterns is as simple as drawing lines from point to point, guided by a grid or with complete freedom. You can load background images, snap to grid, create free shapes, edit vertices, rotate and scale shapes, mirror and duplicate shapes. You can even modify UV Maps independently from the shape and define which overlapping shapes are on top or below each other.
WATCH TUTORIAL - FIRST STEPS WITH PATTERN EDITOR
Omnitiles Main Parameters
Load and Edit Patterns
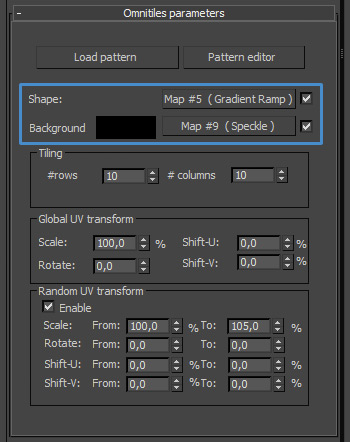
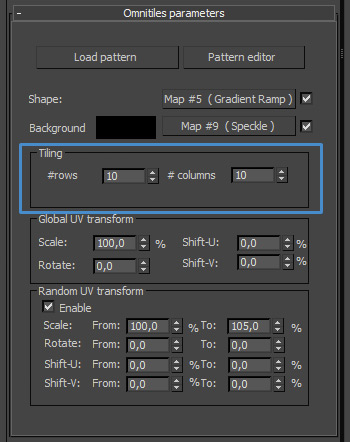
Load Pattern
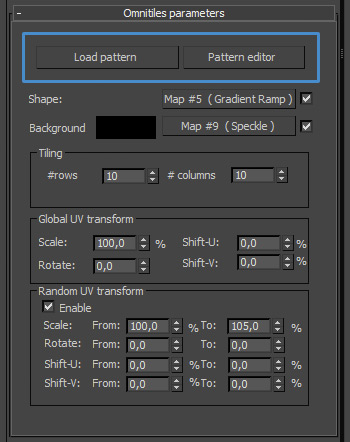
This button will open up a standard max file dialog to open a pattern description file for Omnitiles. The pattern has the extension .vumd and is stored as XML file. The pattern library includes over 60 patterns for different use. Using this LOAD PATTERN function will ONLY replace the pattern description, while the above button LOAD PRESET will load and replace the entire map, including it´s sub-maps.
So if you plan to try out different patterns while keeping your sub-maps, use this LOAD PATTERN button.
Pattern Editor
This button opens the Pattern Editor which is used to create new and edit existing patterns. For a description of the Pattern Editor please see the PATTERN EDITOR section below.
Add maps for shapes and background
Main Shape
This map slot is used for all SHAPES of a pattern. It can handle any 3ds Max map, including a bitmap, procedural maps and third party maps. The real power of Omnitiles lies in the combination with Crossmap though. Using Crossmap will randomize bitmaps across all shapes in a pattern, even if the pattern is repeated multiple times (with the #rows and #columns).
So why is this important ? Creating pattern that don’t repeat their appearance is the KEY for natural looking materials / textures. Crossmap in Omnitiles has this flexibility and not only offers randomization of multiple bitmaps but also random color variation.
Background
The background is the COLOR or MAP behind all shapes. So any area that is not covered by a Shape in the editor will render this color or map. This is mainly intended, but not limited, to creating mortar, gaps, or areas between shapes / stones / tiles.
Adjust tiling and size
Tiling
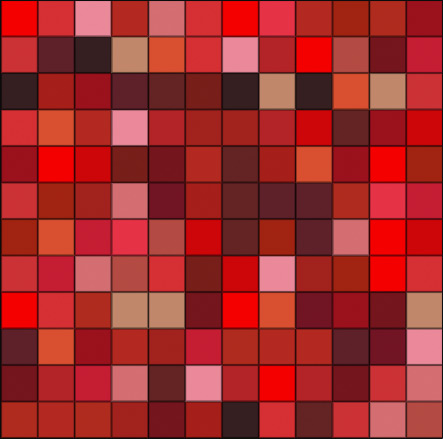
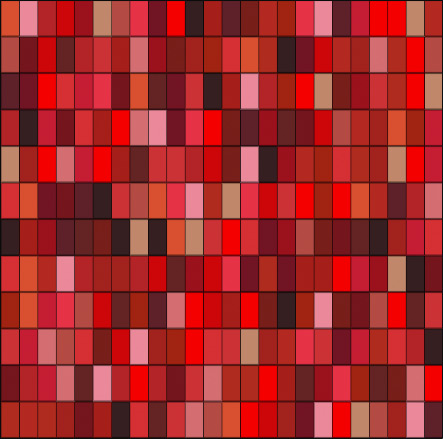
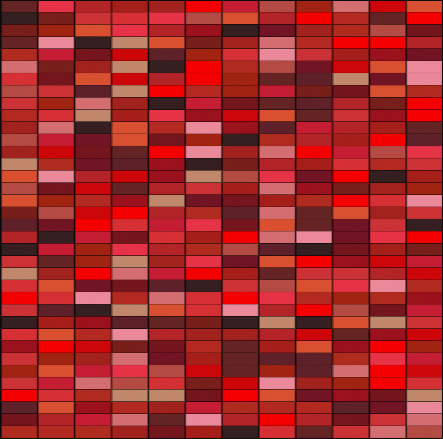
The tiling parameters for #rows and #columns are used to increase the size of a pattern in general. Usually these parameters should be adjusted together to keep the aspect ratio of a pattern. In some cases it may be required to use a different value for the #rows than for the #columns, for example if the aspect ratio of the shapes in a patterns should be different than how they are in the pattern editor itself.
EXAMPLE
Let´s say you want like to create a wall pattern with bricks that have an aspect ratio of 3:1 (which is approximately the ratio of standard bricks in most European countries / 21 cm x 7 cm). Using a pattern with 3 shapes in it where their aspect ratio is 3:1 is easy. But what if you have a pattern with shapes that have an aspect ratio of 4:1 ? Then you need to calculate the correct number of rows and columns to fit your desired 3:1 ratio for the bricks: You simply need to squeeze 4 into 3 which means your #rows should always be 75% of the #columns -> 8 rows x 12 columns or 12 rows x 16 columns or 24 rows x 32 columns and so on.
Transform UV sizes, places and rotations GLOBALLY
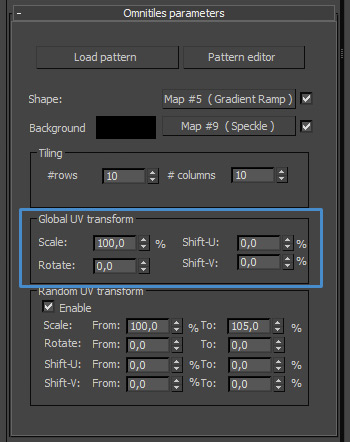
Scale
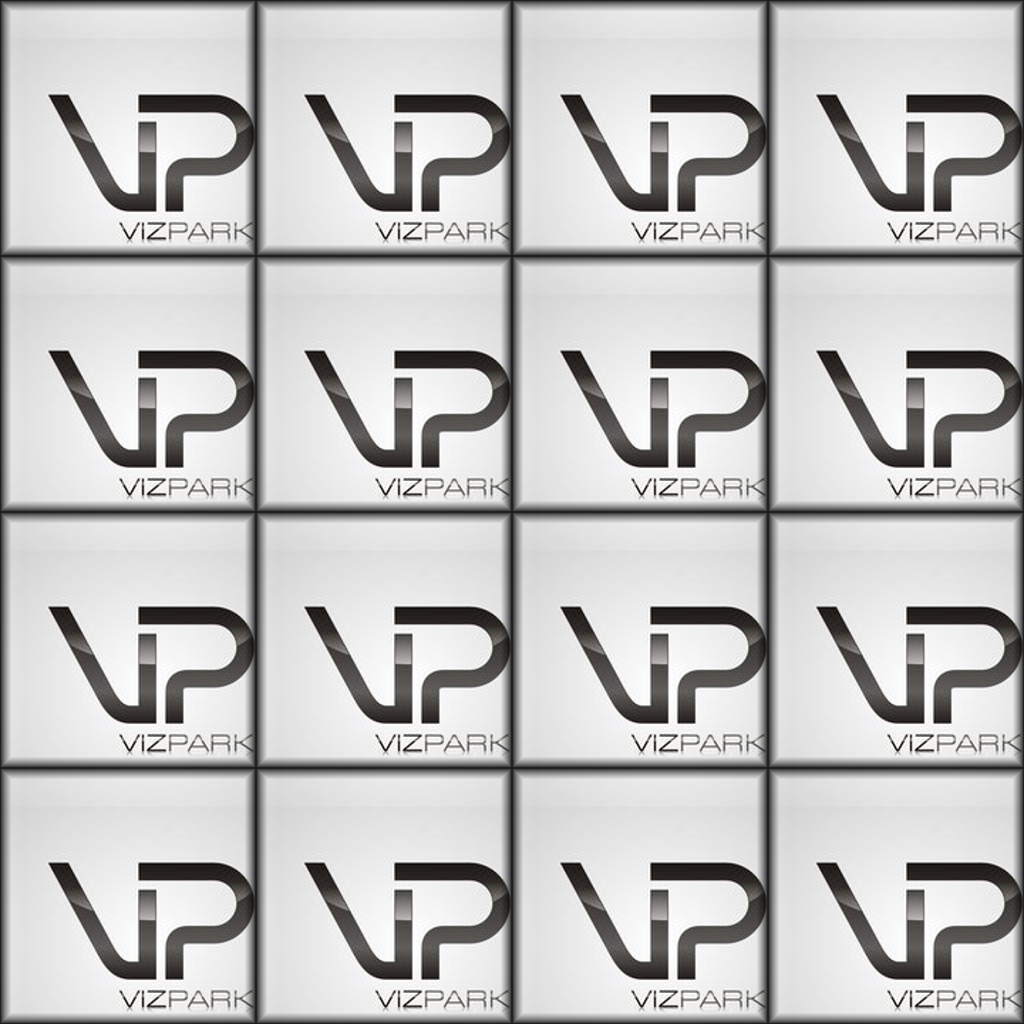
Scale will either increase (values > 100%) or decrease (values < 100%) the size of ALL MAPs inside the shapes together. This could be used to remove (crop) the edges of bricks for example.Rotate
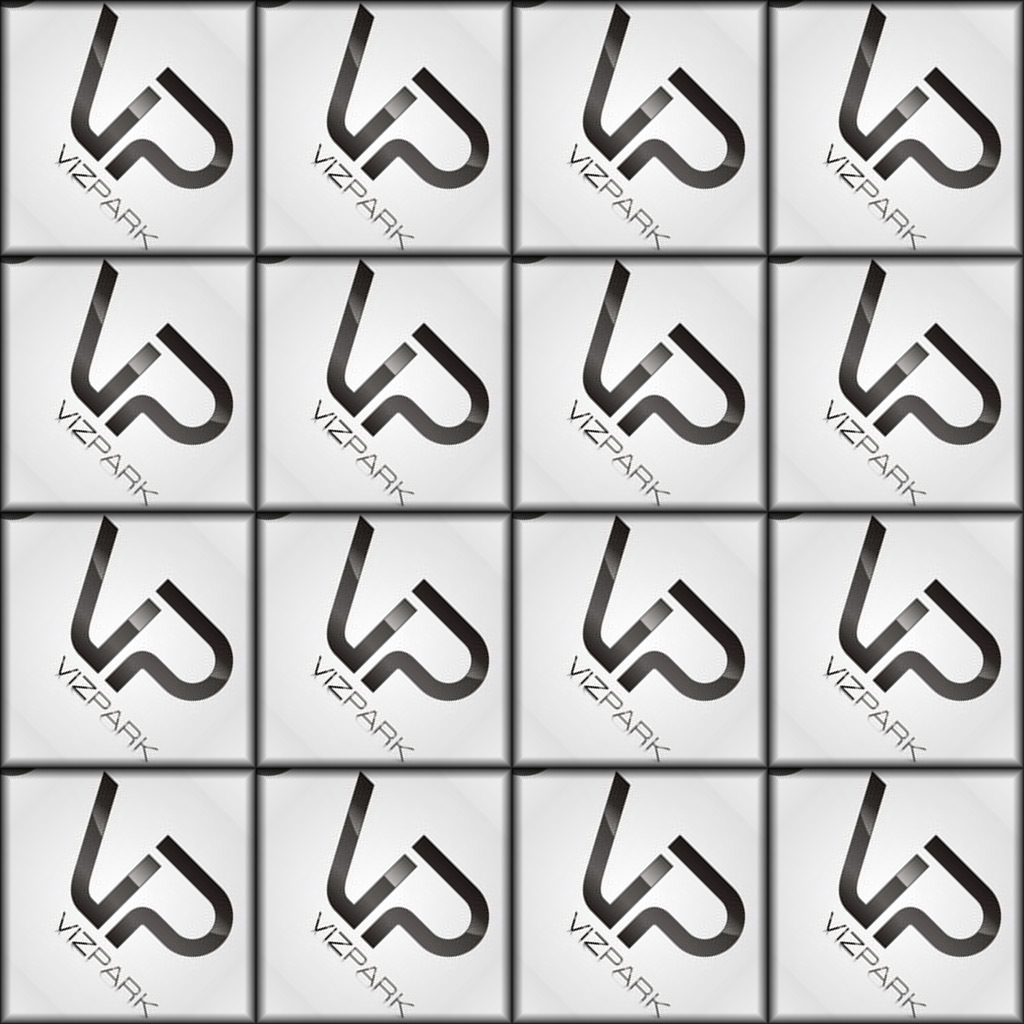
Rotate will rotate the UV maps (not the shapes themselves) of all shapes globally, for example if you want to fit your maps to the shapes ratio.
Shift U
Shift U will move all shape UV maps together horizontally left or right.
Shift V
Shift V will move all shape UV maps together vertically up or down.
Transform UV sizes, places and rotations RANDOMLY
While the global UV transforms will change all shape uv maps together, the Random UV transforms will change each uv map individually and randomly at the given range.
Scale
Scale will RANDOMLY scale the size of the MAPs inside the shapes individually.
Rotate
Rotate will RANDOMLY rotate the UV maps (not the shapes themselves) of all shapes individually.
Shift U
Shift U will RANDOMLY move the shape UV maps horizontally left and right individually.
Shift V
Shift V will RANDOMLY move the shape UV maps vertically up and down individually.
Shape Maps List
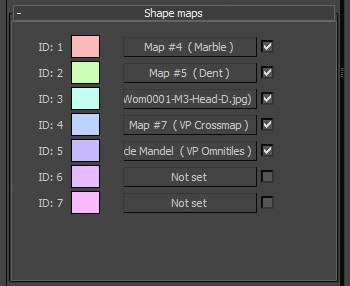
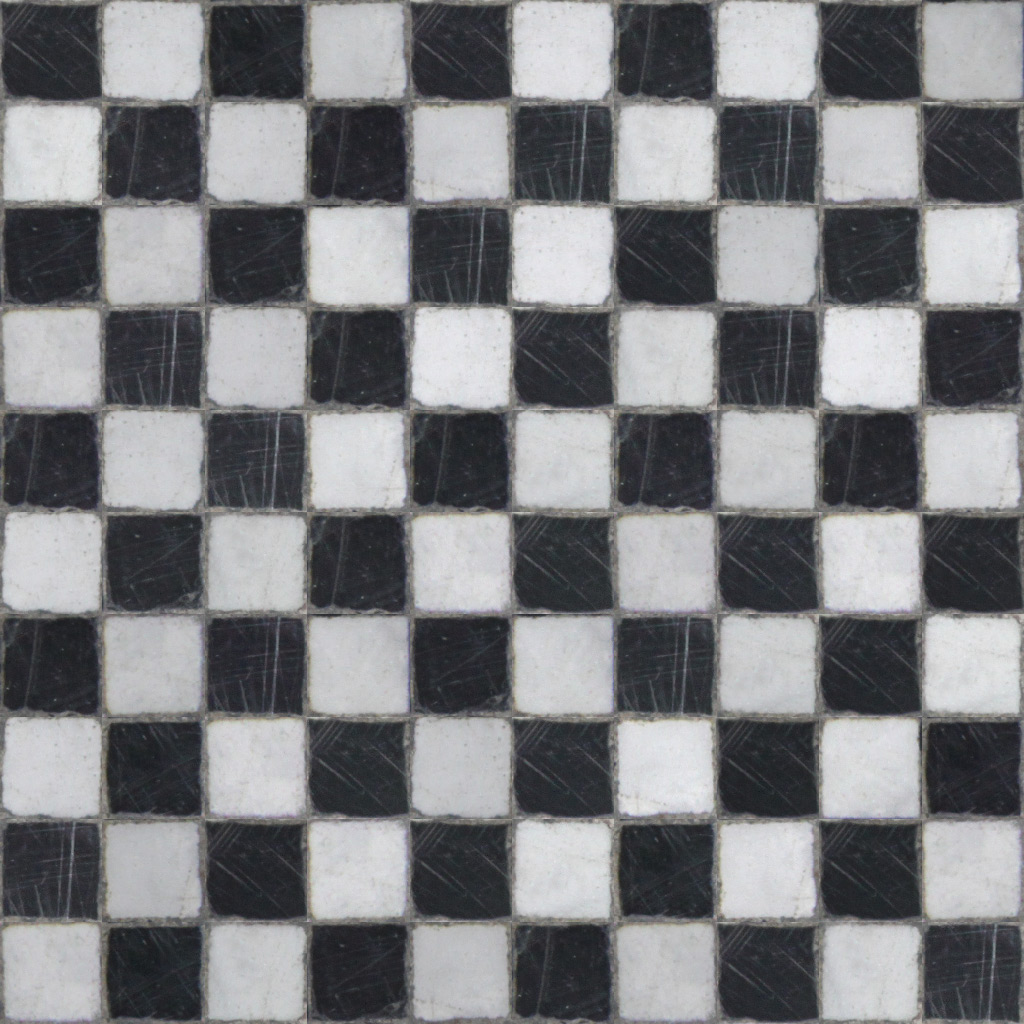
The Shape Maps rollout and list can be used override the main shape map with other maps. While the top Main Shape map will be used for all Shapes, you can add and replace specific shapes with other maps, for example if you want to create a chess checker pattern.
It is not necessary to use the individual shape maps, as the main shape map will work for all shapes in general. But it can be useful to define individual maps for specific shapes when more flexibility is needed.
Compatibility
- Autodesk 3Ds Max 2020 (64 bit)
- Autodesk 3Ds Max 2019 (64 bit)
- Autodesk 3Ds Max 2018 (64 bit)
- Autodesk 3Ds Max 2017 (64 bit)
- Autodesk 3Ds Max 2016 (64 bit)
- Autodesk 3Ds Max 2015 (64 bit)
- Autodesk 3Ds Max 2014 (64 bit)
- Autodesk 3Ds Max 2013 (64 bit)
- Chaosgroup vray renderer
- Scanline renderer
- Corona Renderer
Installation and Activation
Detailed information on Licensing and Activation
Installation is easy, just start the installer “Omnitiles installer.exe” and select the install location and plugins you want to install. The installer automatically installs all plugins, demo files, preview images and Material Manager with library.
Go to the material editor and within a material add a new map and select the “VP Omnitiles” map from the list.

