
CROSSMAP – Reference Guide
What is CROSSMAP ?
CROSSMAP is a 3DS MAX® shader that randomly distributes bitmaps on geometry (objects, elements, faces etc.). Just select a folder with bitmaps, load them automatically and distribute these in your scene to enhance variation.
What is the differences between Walls & Tiles, Mosaic and Crossmap ?
Please view the separate feature comparison chart for more details on what unique to each product.
Crossmap – User Interface and general parameters
About
HEADER
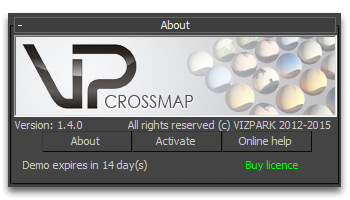
The header includes the version number, an about screen, a link to the activation dialog / License Viewer and a link to the online documentation (this page).
About
The about button opens a window with information about the version number, the developers, and a weblink to the CHANGELOG.
Activate / Show License
The ACTIVATE button / SHOW LICENSE button (if activated) enables the activation screen or License Viewer. Further information about Licensing and Activation .
Online Help
This button links to the documentation page (this page) directly.
Demo expiration / Buy License
If Crossmap is used as a Demo, the demo expiration will be shown here (14 days in total). Buy License is a weblink to the online shop where Crossmap can be purchased. Both the demo notification and the buy license button will disappear when Crossmap is activated.
Crossmap Presets and Material Manager
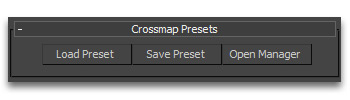
Load Preset
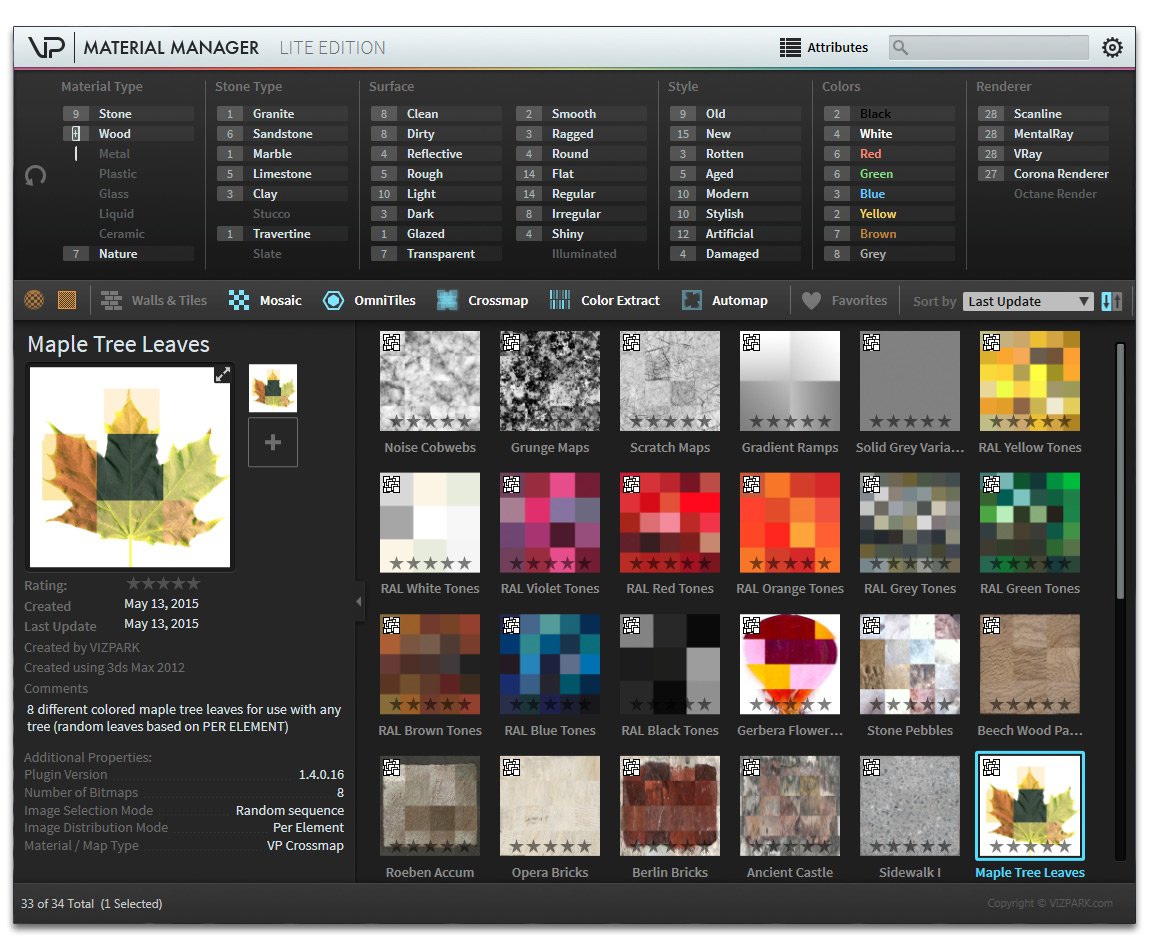
Load Preset will open the Material Manager in CROSSMAP MAP MODE. This means, only Crossmap map presets will be shown. Double click or LOAD on the bottom right corner will load the preset and it´s bitmaps.
Save Preset
Save Preset will save a Crossmap map preset into the Material Manager. The included bitmaps are also saved, as well as a map thumbnail (600 x 600 pixel) that will be rendered during this process.After saving the files and rendering the thumbnail, Material Manager will open, so you can define attributes for the presets.
Open Manager
Open Manager will open Material Manager in general mode that shows ALL available presets stored in Material Manager and it´s database.
Further information about Material Manager can be found in the Material Manager Documentation:
Image List

Please select a folder with bitmaps
This button loads multiple bitmaps from an entire folder (including subfolders). You can load a complete folder just by clicking on this button and select a folder that contains bitmaps. Once selected, a progress bar appears at the bottom of the 3DS MAX® gui that shows the loading process. Be careful with folders that contain too many bitmaps as loading may take a while.
Add bitmap(s)
The Add bitmap button opens a standard windows file dialog which you can use to locate and select one or multiple images to be loaded / added to the image list. For multiple selection hold shift / ctrl and select the images.
Delete
The delete button deletes the selected (check-marked) image files from the image list.
Sort list (New in v1.4)
This function sorts the image list in alphabetical order, by color or by probability.
Clear list
The Clear list button clears the complete image list.
Image List (New in v1.4)
The image selection list shows all currently loaded bitmaps. Hovering over an image name will show you the bitmap filepath. You can select and deselect images by clicking on the names.
Average Color (New in v1.4)
The average color is calculated during loading of the bitmap(s) for each bitmap. The color can be changed by clicking on the color field. Average colors can be used to match bitmaps to an input map (further explanation see below).
Probability (New in v1.4)
If you want to adjust how often a bitmap is used in a randomization, you can define the probability here for each bitmap. NOTE: The probability only works when “Random by probability” is chosen as Image Selection mode (see below).
Show (New in v1.4)
Show will open up a preview window of the bitmap. Holding the mouse over the button will show a tooltip with the image resolution and gamma value.
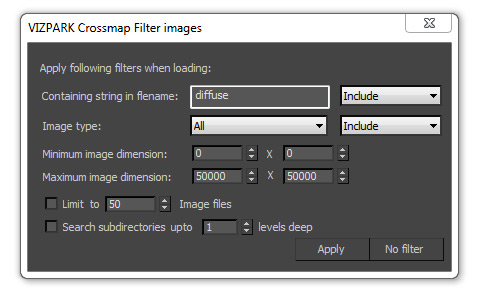
Bitmap Autoload-Filter
When loading a large number of images, you might want to restrict the loading to certain bitmaps with specific names, bit-dephts or sizes. This is where the Autoload-Filter helps. After selecting a folder with bitmaps, you can define inclusion or exclusion of strings (e.g. only load bitmaps with the string “diffuse”). You can also filter by bit-depth and size (e.g. only load bitmaps with 24bit and not larger than 4000 x 3000 pixels).
Image Distribution
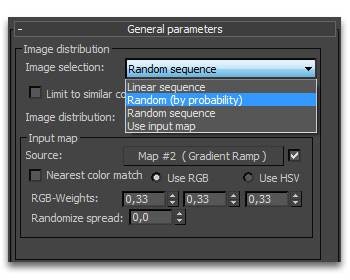
IMAGE SELECTION MODE
This drop down menu contains options on which the bitmaps are randomized:
- Linear sequence selects the bitmaps in linear order, one after another from the list top down
- Random (by probability) selects the bitmaps in randomized order (by considering the predefined probability values per bitmap)
- Random sequence selects the bitmaps in randomized order (using the system random function)
- Use Input Map selects the bitmaps or parts of the bitmaps according to the values (light to dark) from the input map
- Limit to similar color will reduce the number of bitmaps from the list during rendering to bitmaps with similar colors.
Linear sequence
Random sequence

Input Map

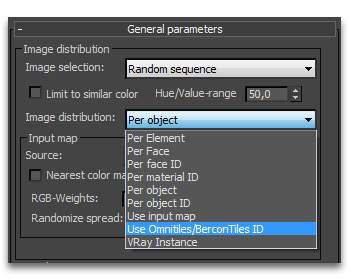
IMAGE DISTRIBUTION MODE
This drop down menu contains options in which order the bitmaps are randomized:
- Per element distributes the bitmaps based on elements of an object
- Per face distributes the bitmaps based on the faces / polygons of an object
- Per face ID distributes the bitmaps based on face IDs
- Per Material ID distributes the bitmaps based on material IDs
- Per object distributes the bitmaps based on each object (one bitmap per object)
- Per object ID distributes the bitmaps based on the object IDs
- Use Omnitiles/BerconTiles ID distributes the bitmaps when used in combination with BerconTile or Omnitiles (New in v1.4)
- Use Input Map distributes the bitmaps based on the input map
- VRay Instance distributes the bitmaps based on vray instances, for example on single hairs of vray fur
per Element
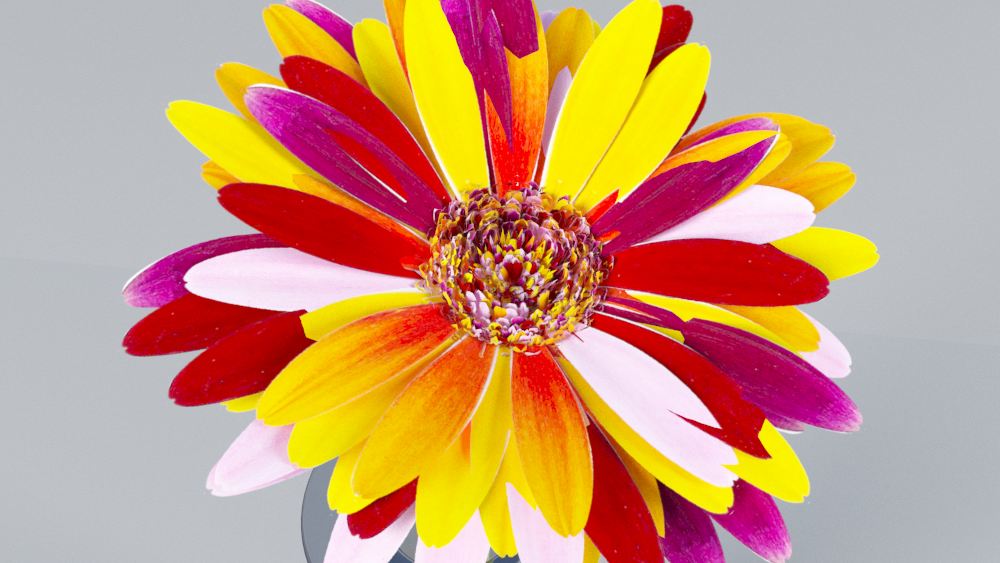
Per element distributes the bitmaps based on elements of an object. In this example, each leaf has one of 12 random bitmaps.
per Face
Per face distributes the bitmaps based on the faces / polygons of an object. This example shows a simple plane with random bitmaps on each of the faces.
per Face ID

Per face ID distributes the bitmaps based on face IDs. Each face ID (triangle in this case) gets a random separate bitmap from the list.
per Material ID

Per Material ID distributes the bitmaps based on material IDs. IDs were manually defined on faces in edit poly mode.
per Object
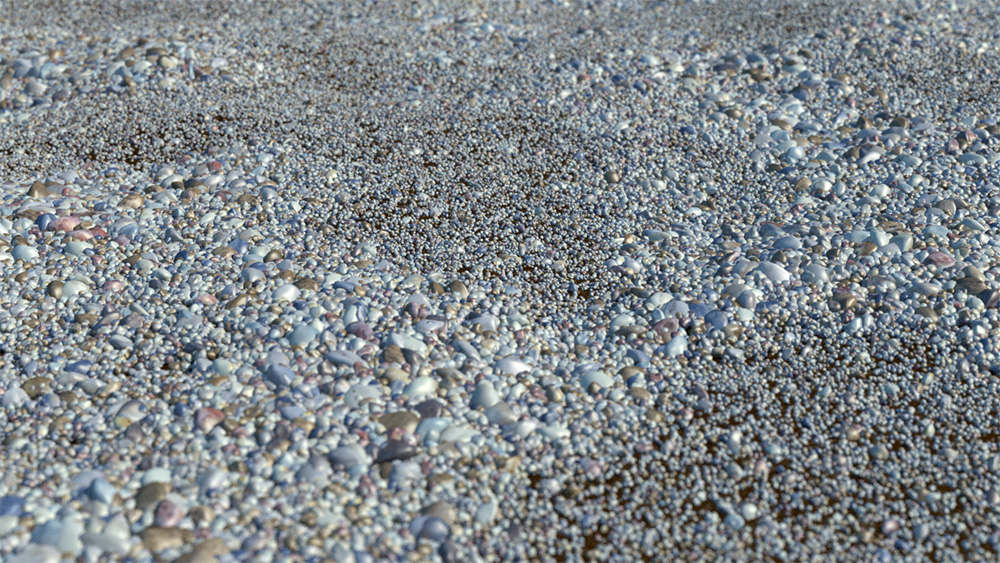
Per Object distributes the bitmaps on Objects. In this example, thousands of stones, scattered with ForestPack Pro, use random bitmaps.
per Object ID
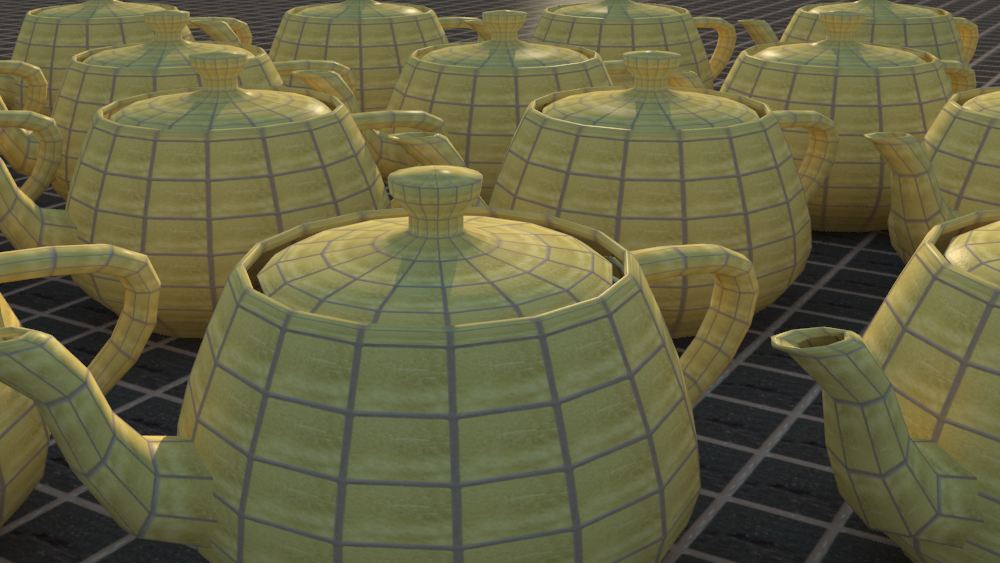
Per Object ID distributes the bitmaps based on G-Buffer IDs of objects. In this example the teapots have one ID and the ground plane another ID.
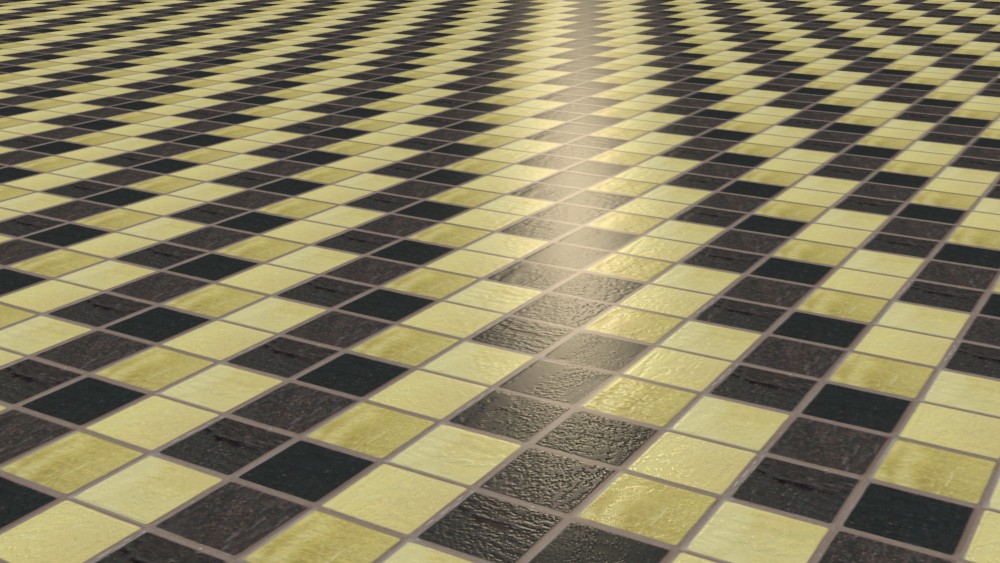
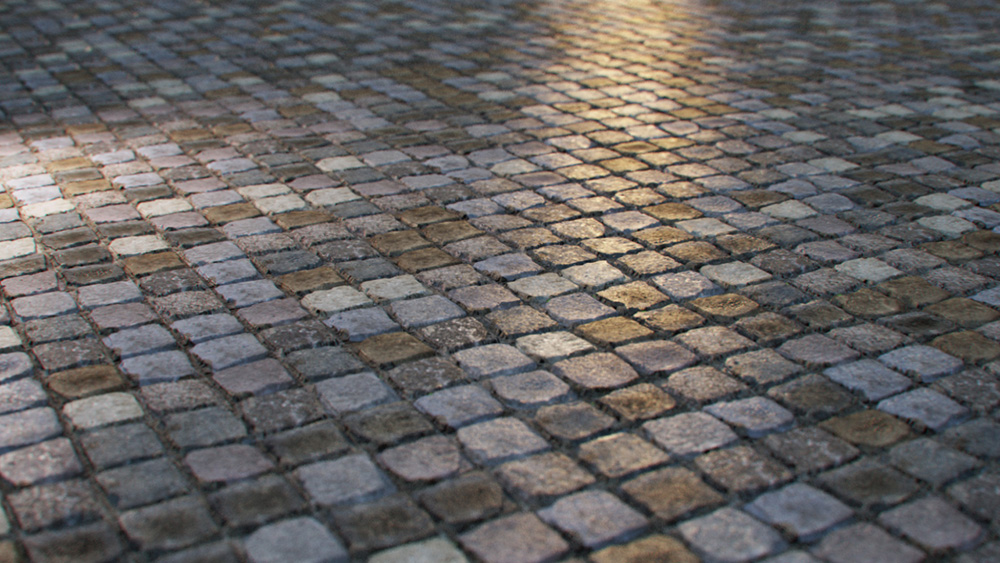
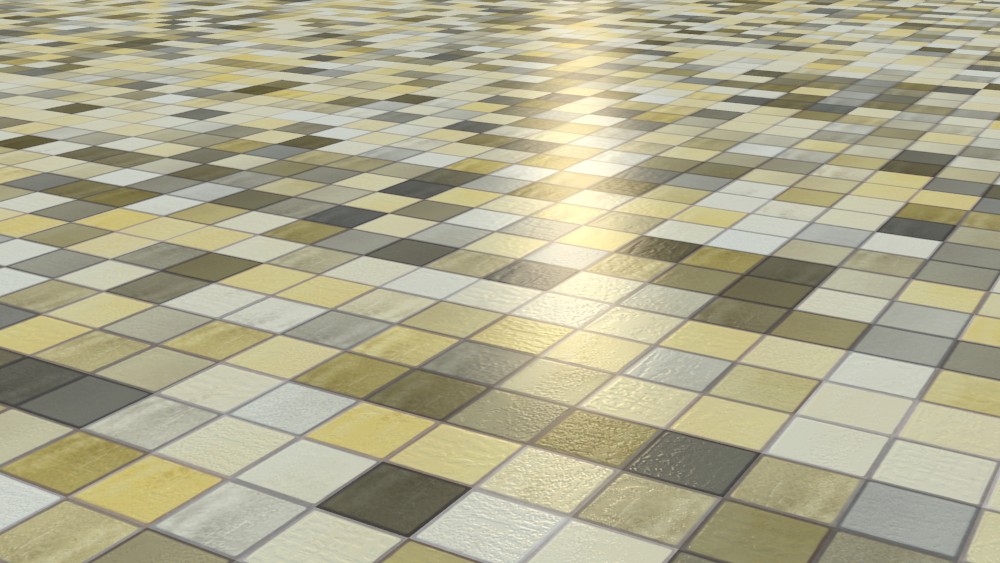
Omnitiles/BerconTile ID
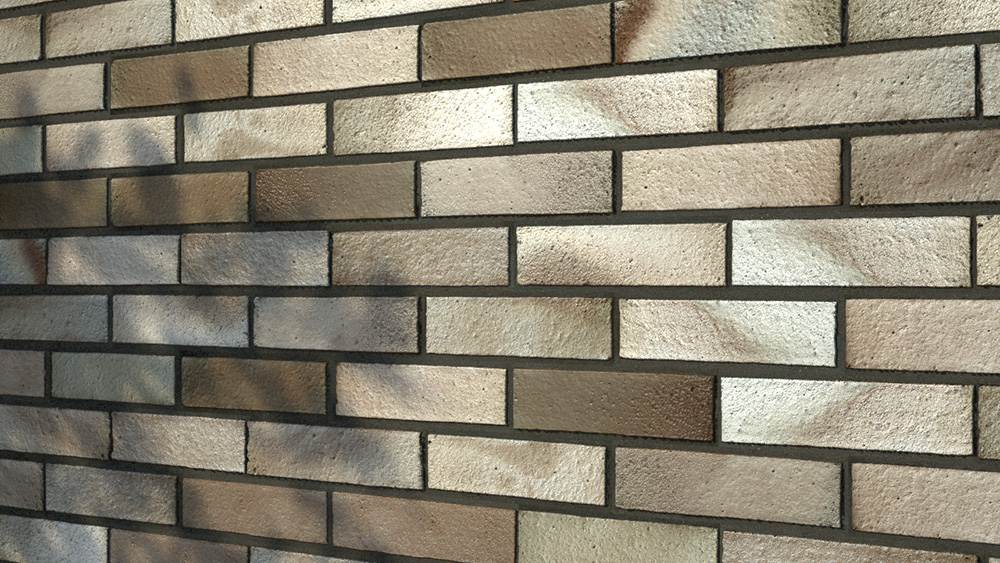
Omnitiles/BerconTile ID distributes the bitmaps based on Omnitiles or BerconTile patterns. Each brick in the pattern gets a random single bitmap of a brick.
Use Input Map

Use Input Map distributes the bitmaps based on the values of another bitmap or procedural map.
Input Map

Source
Here you can assign (almost) any other map containing color input options. You can use this input map to drive image selection of the image list. The images will be selected depending on luminance of the input map. Using the input map will open new possibilities to combine, mix and selectively distribute images on objects, elements or faces. For example, if you have a tree with leaves, you can use this input map to specifically place certain leaves on top of the tree while others on the bottom.

Use nearest color match (added in v1.1)
This new feature is very useful to create mosaic like patterns or distribute bitmaps specifically at certain areas or colors of another source map. While the normal input map function does not select or distribute bitmaps according to their color, this feature matches the source map colors to the average colors of the individual bitmaps. You can select to match colors by RGB values or by Hue, Saturation, Value and set the amount to be used individually for each parameter. If your color matching needs more randomization, you can spread the bitmaps selection and randomize their distribution with the Random spread value from 0% (just use the fitting bitmaps) to 100% (use more bitmaps from the list who´s color lies next to the original color).
Randomization
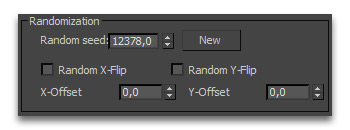
Random Seed
The random seed parameter changes and randomization setting. If you like to change how the bitmaps are randomized, change this number to any other number until you are satisfied.
Random X-Flip / Y-Flip
The random flip parameters will randomly mirror each bitmap vertically or horizontally.
X-Offset / Y-Offset (added in v1.3)
These offset parameters will randomly offset the source maps from 1-100 % (0.01 to 1.0) in X or Y direction. Note: The random shift only randomizes the SOURCE maps, not the maps on target geometry, which means that one bitmap is shifted once, not differently on multiple objects, faces or other elements.
Color Variation
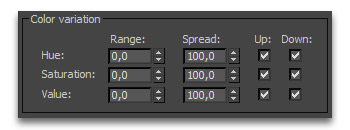
Color Variation lets you further randomize colors of the bitmaps. HSV stands for Hue, Saturation, Value. You can set the values from 0 to 100 which will result in random values from 0% to 100% for each parameter. You can set the range direction, up, down or both with the checkmarks.
Global Gamma (added in v1.2)
Global Gamma controls the overall output gamma value of the loaded bitmaps. You might want to adjust this parameter according to the settings in your global 3ds max gamma preferences.
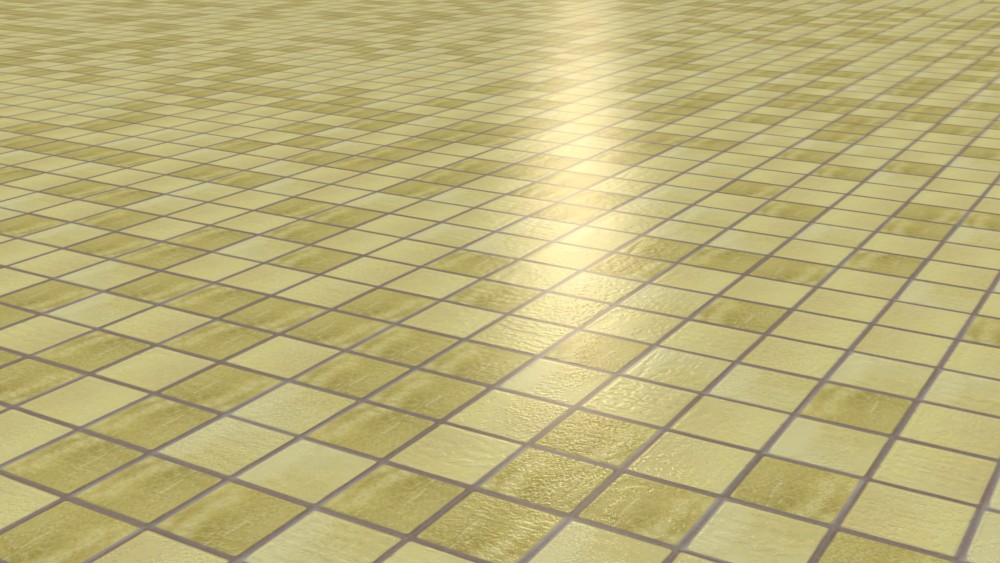
No color variation
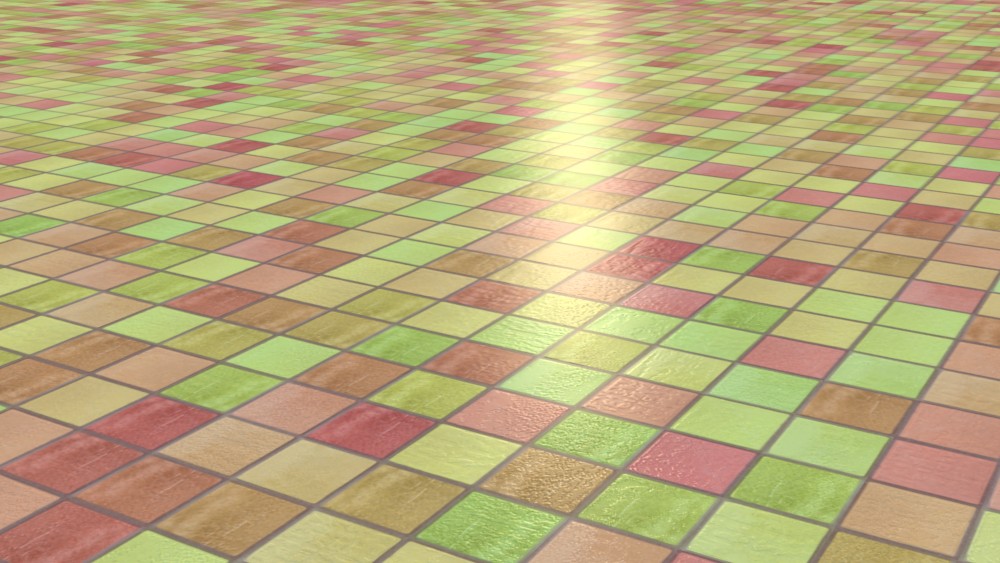
Hue variation
Saturation and Value variation
Global Color Corrections
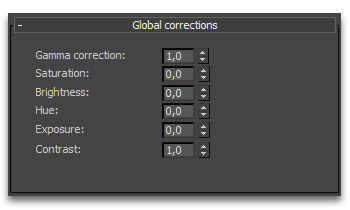
Gamma Correction, Saturation, Brightness, Hue, Exposure and Contrast change the color of all loaded bitmaps at once.
Output Parameters
The Output parameters rollout includes the common settings for bitmaps rgb and alpha output. This is very useful when you are using bitmaps with an alpha channel and would like to use the alpha channel together with the diffuse channel (e.g. leaves of a tree). When you output the alpha channel on the mono channel output with Alpha Source = Image Alpha and the RGB values on the RGB channel, you can use the same XMAP as instance in the diffuse slot and the opacity slot of a material.
Compatibility
- Autodesk 3Ds Max 2020 (64 bit)
- Autodesk 3Ds Max 2019 (64 bit)
- Autodesk 3Ds Max 2018 (64 bit)
- Autodesk 3Ds Max 2017 (64 bit)
- Autodesk 3Ds Max 2016 (64 bit)
- Autodesk 3Ds Max 2015 (64 bit)
- Autodesk 3Ds Max 2014 (64 bit)
- Autodesk 3Ds Max 2013 (32 bit and 64 bit)
- Chaosgroup VRay renderer
- Scanline renderer
- Corona Renderer (NOTE: per Face mapping is not available in Corona)
Installation and Activation
Detailed information on Licensing and Activation
Installation is easy, just start the installer “Crossmap installer.exe” and select the install location and plugins you want to install. The installer automatically installs all plugins, demo files, preview images, Material Manager and documentation.
Go to the material editor and within a material add a new map and select the “VP Crossmap” map from the list.
An activation screen will appear and you will be asked to enter your name, company, email and serial number that
you received from VIZPARK.