Tutorials
HDRI Lighting with LightWave 3D
In this tutorial you can learn how you to set up and light an exterior scene with a HDRI Skydome inside of LightWave 3D. While HDRI lighting is not very complicated it ́s necessary to know some technical details in order to get good results.
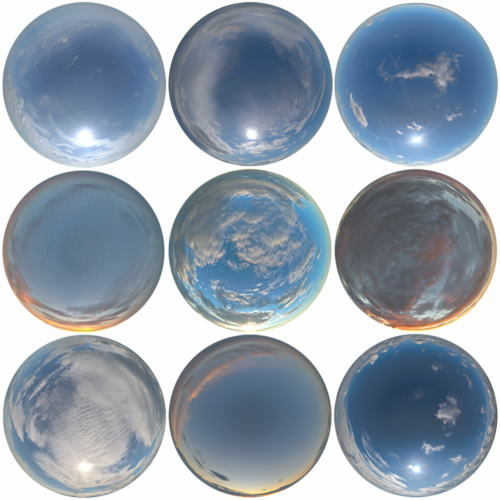
The VP HDRI Skydomes have a very high dynamic range, which is best to create sharp sun shadows. Also they have an accurate white balance that will bring convincing and colorful lighting into your scenes.
Here is how to achieve best results in LightWave 3D (11.x):
(1) General setup
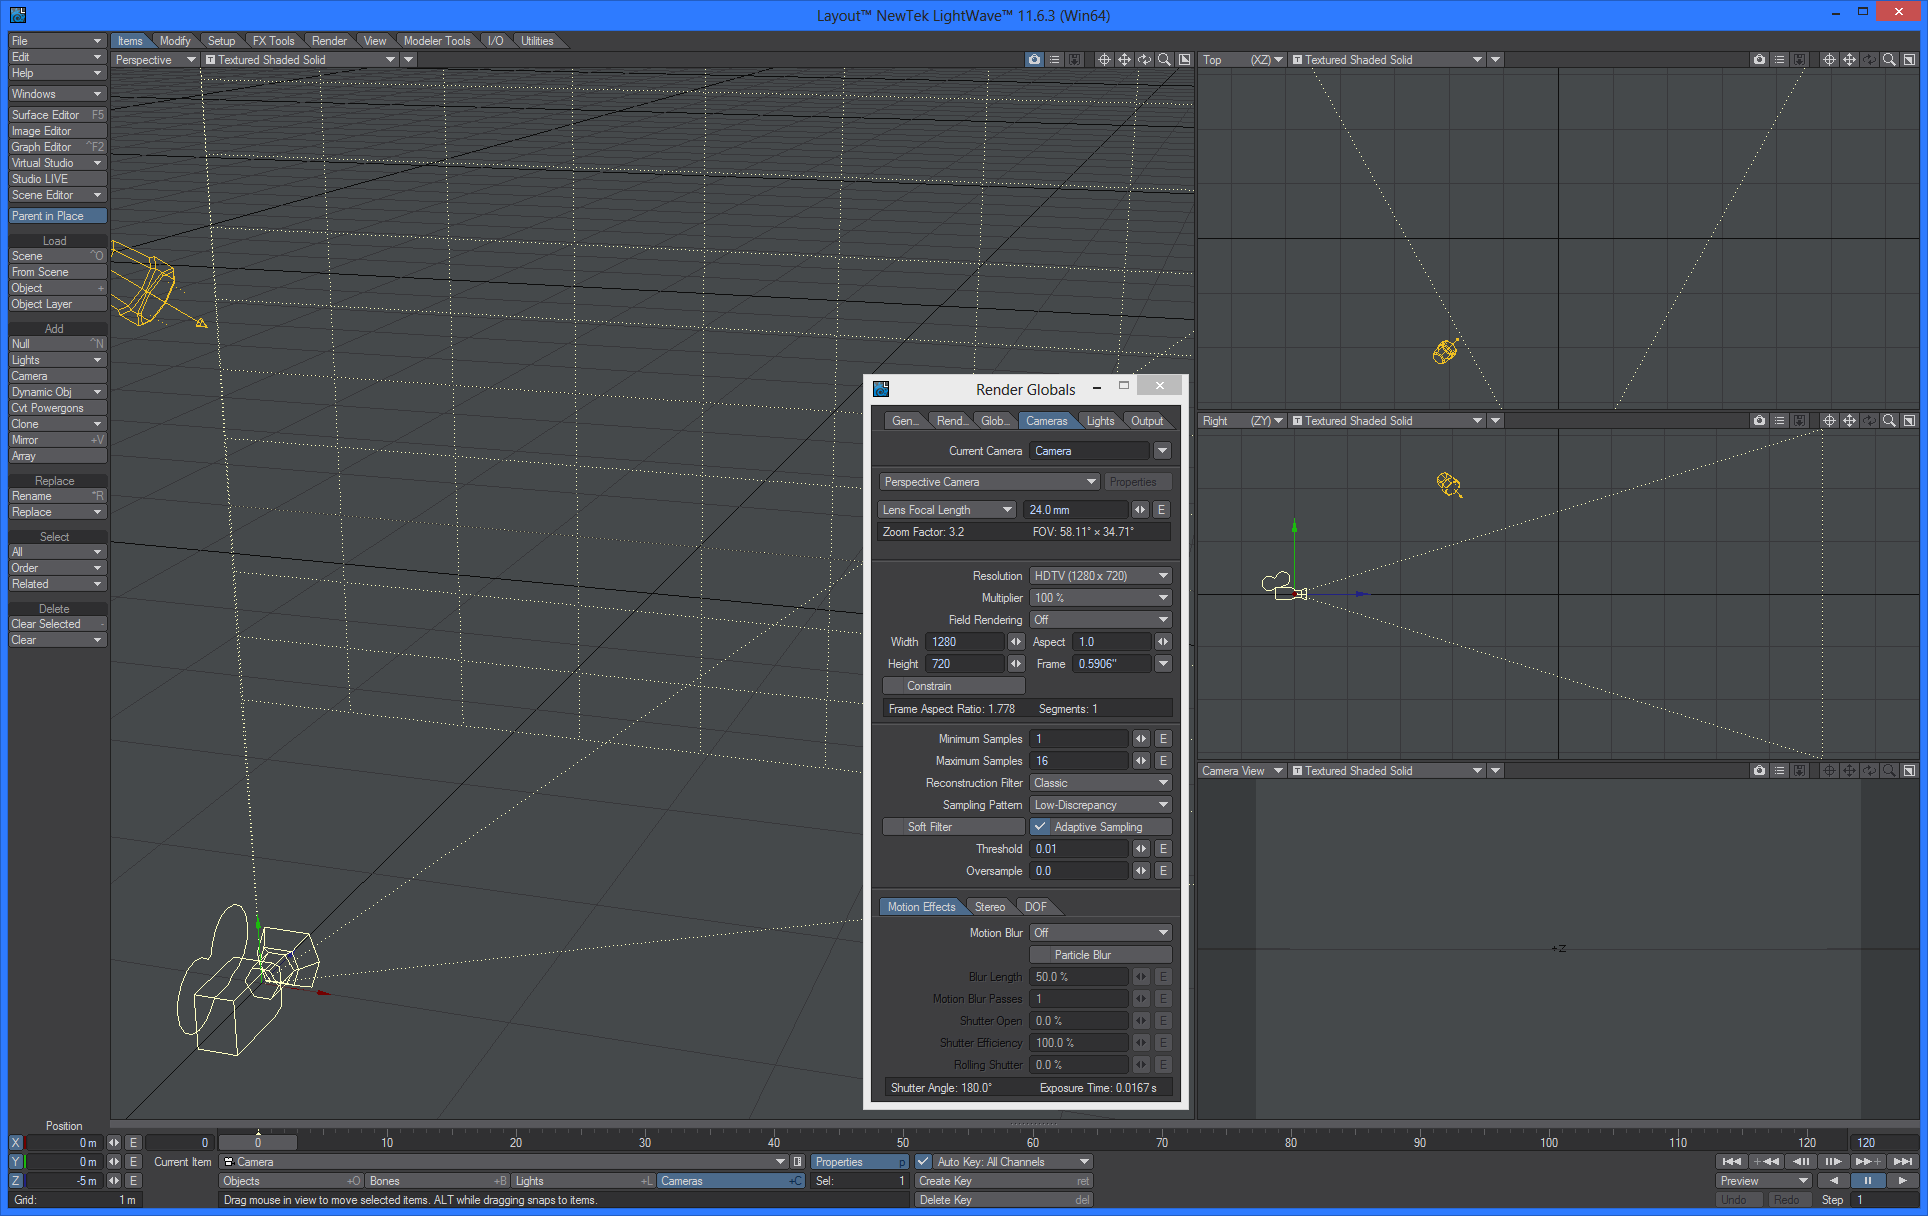
Open LightWave 3D Layout and setup viewport in Quad view (optional) as on image below and put Camera resolution at HD Ready (1280*720p) and adjust Min/Max AA samples to 1/16.
(2) Colorspace and Render Setup
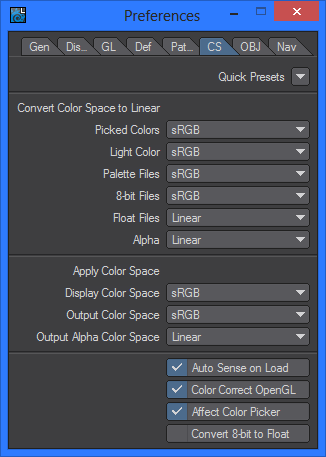
Next adjust the ColorSpace (CS tab) setup. Open Preferences (p key) and set the Colorspace to (sRGB) from Quick Presets menu, so it looks like this image.
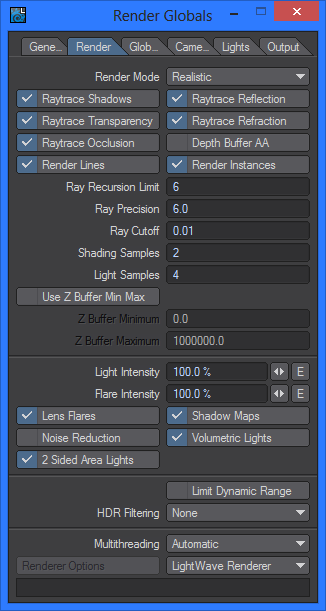
Then open up Render globals Panel and set Raytracing options to Raytrace Shadows, Transparency, Occlusion, Reflections and Refraction as shown on this screenshot. Also add a bit more samples to Light (4) and Shading (2).
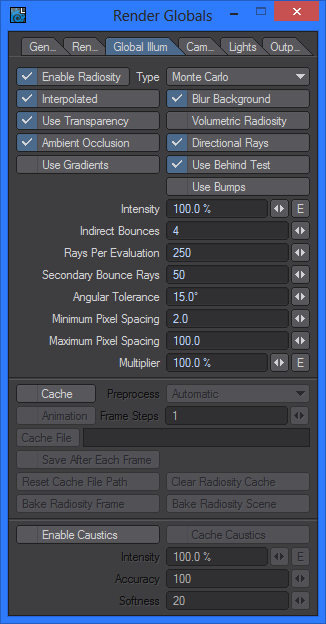
Next panel in line is Global Illumination (Radiosity). Switch on Monte Carlo, Interpolated, type in 4 bounces, Use Transparency. Add RPE to 250, SBR to 50, AT 15°, MinPS 2 and MaxPS 100. That should give you pretty good results and still reasonably fast render time (for more info about what each of these values represents, check up the Manuals with more in-depth information).
(3) Setup HDRI and dome light
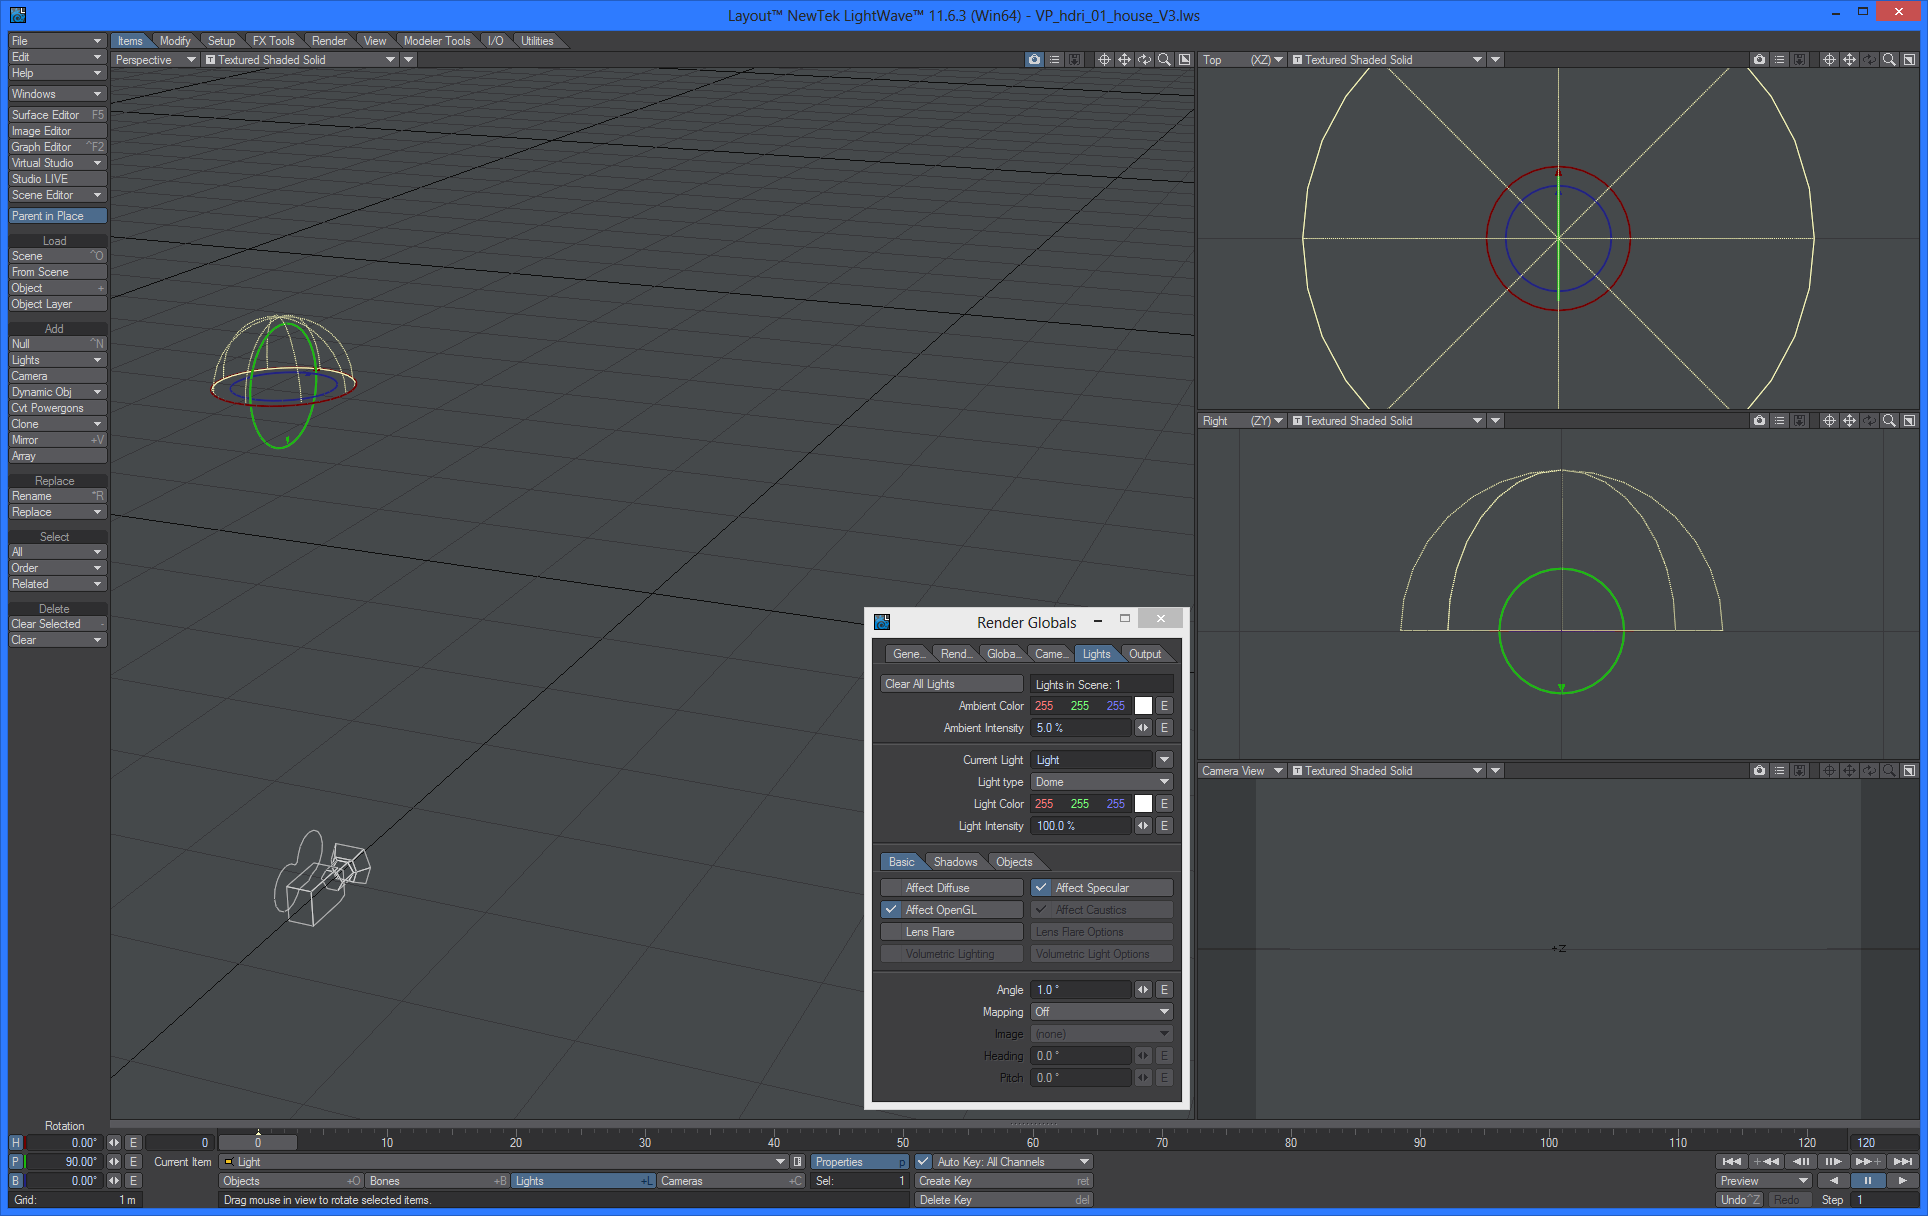
Switch the main light to Light type “Dome”, rotate it to: H:0°, P:90°, B:0° and set the Angle to 1°. This determines sharpness of shadows in case you want to use the dome light to add intensity to your scene instead of using just an HDRI (optional). Also turn off “Affect Diffuse” for now. This will effectively turn off the dome light itself for rendering, so we will only use the HDRI for lighting. But as mentioned you can use the Dome light for additional light if you wish.
(4) Add geometry
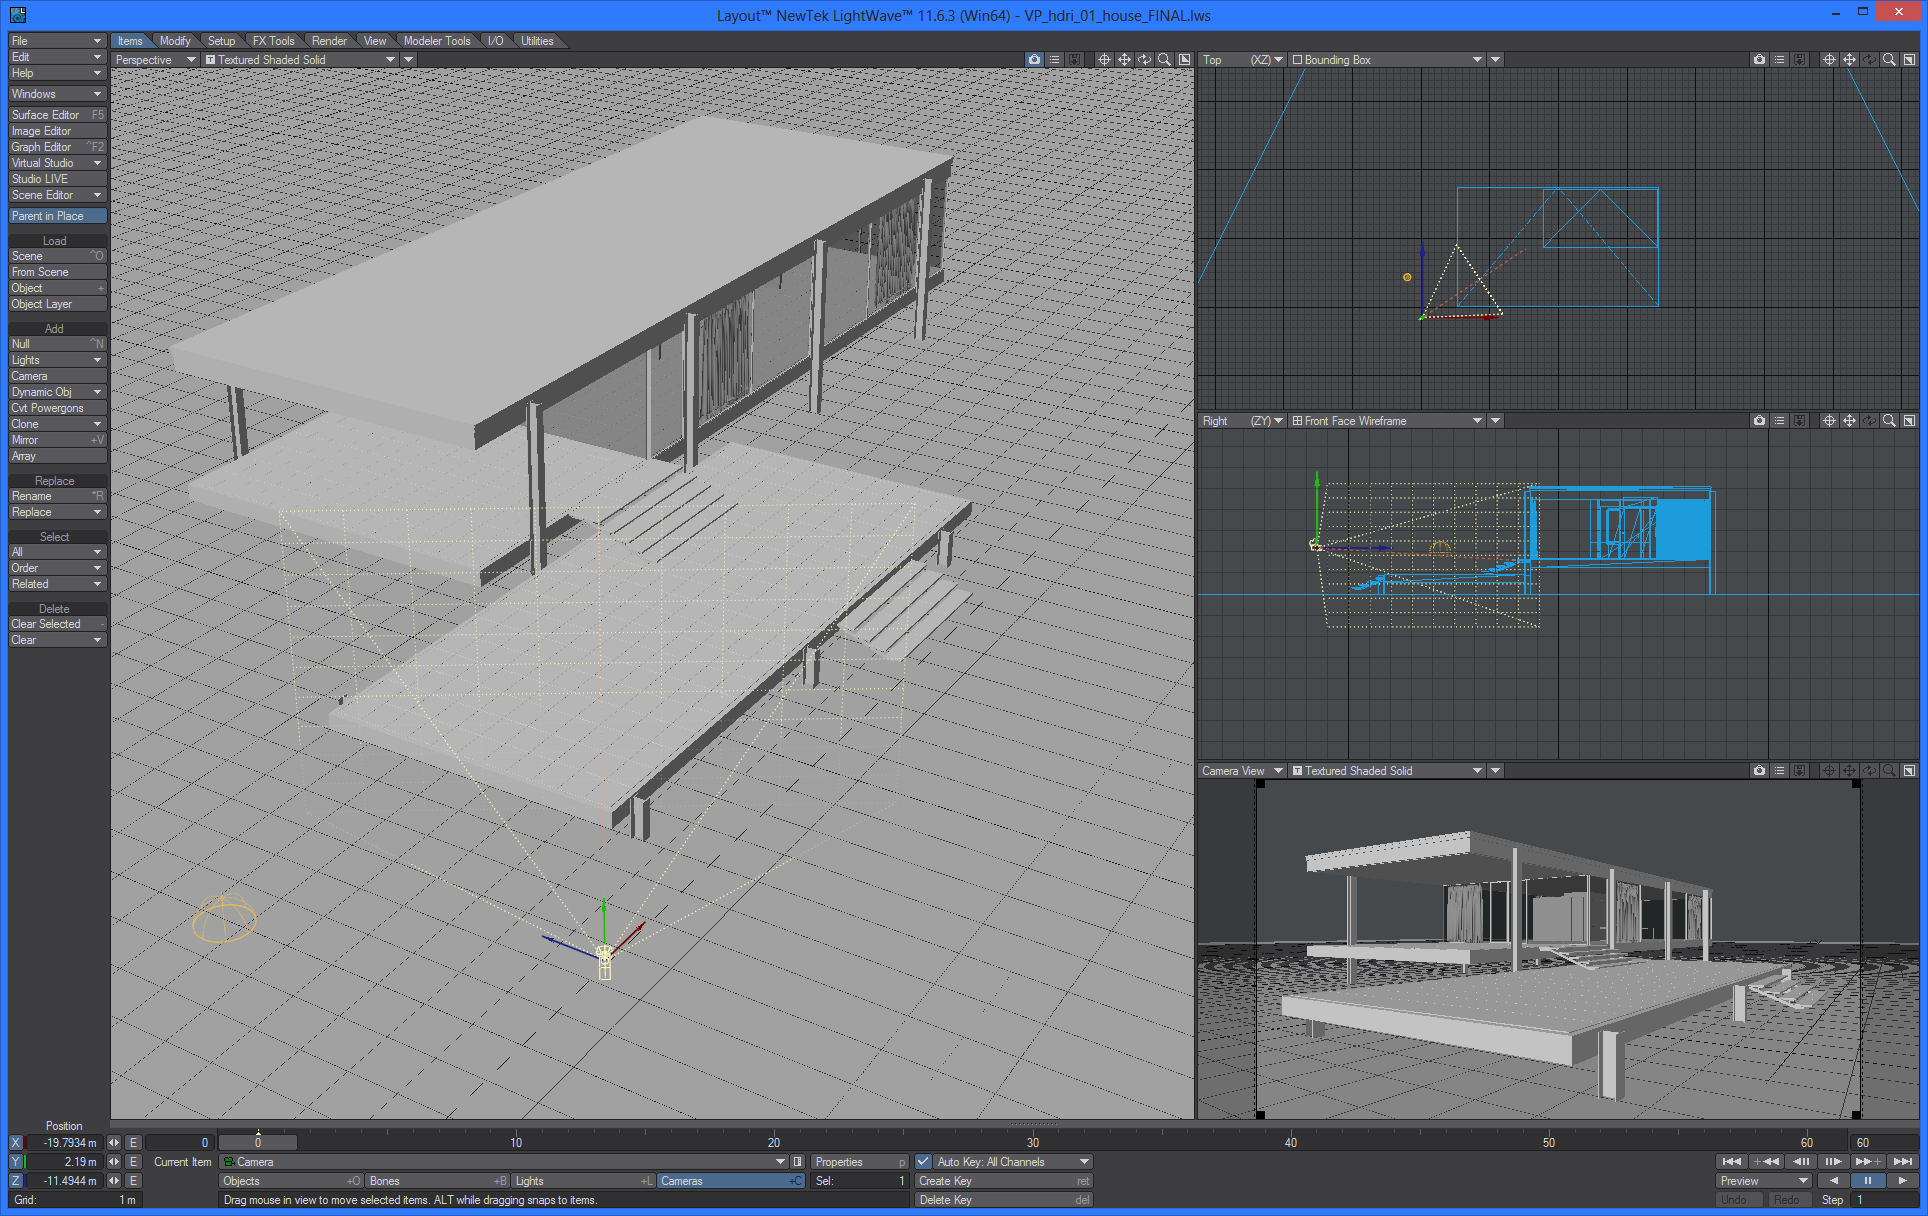
If you haven´t done already, load your own mesh and setup your camera view as you desire (I’ve also added camera target null object for better aiming/orbiting around house as a personal preference).
(5) Load and set up HDRI skydome
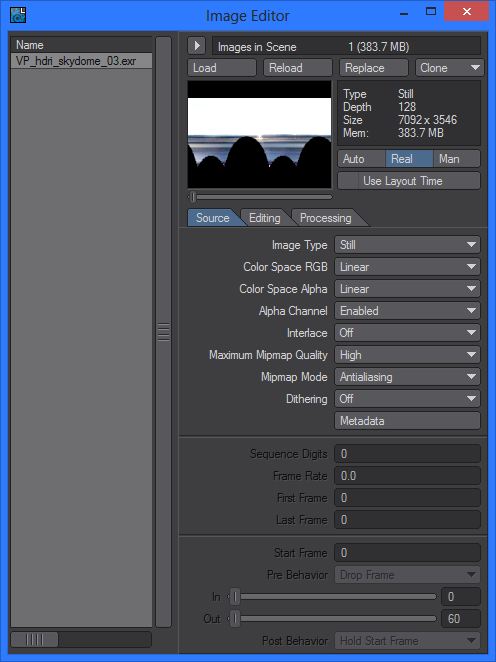
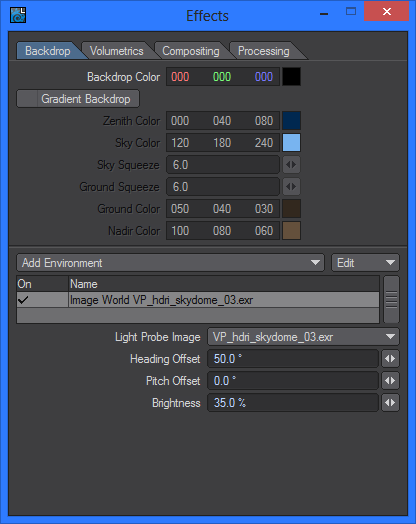
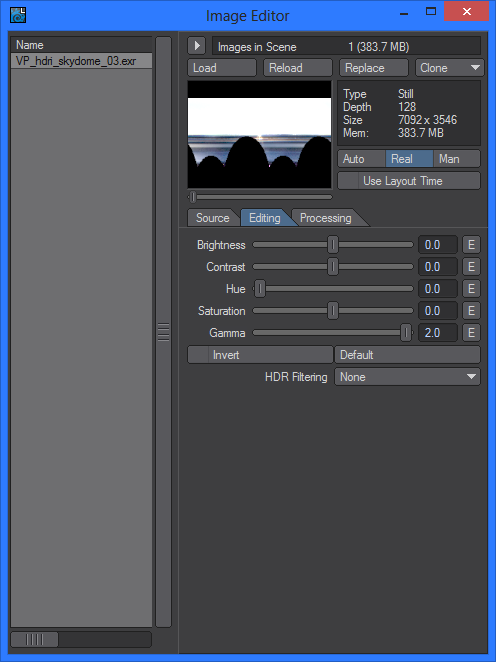
Open the Image editor panel and load a HDRI Skydome (left image). I used “VP_hdri_skydome_03.exr” for this examle. Also go to effects panel and from Add Environment panel add one called “Image World” and choose your loaded HDRI image here. Then adjust Pitch rotation of the image to find the right angle of the light direction for your scene.
Next (right screenshot) adjust the brightness of the HDRI for your scene. In this case I used 35% to get some mid day look/brightness but since these HDRI have a wide EV range you can go as low as 1% (dawn) to up 100% (very bright sky). It’s very flexible so you can play with these settings until you get a result that fits the mood of your scene.
(6) HDRI gamma settings
Also tweak the Gamma settings of HDRI to 2.0 to pevent it being too bright in rendering. Switch to Editing TAB at Image Editor and dial the slider of Gamma to 2 (you can tweak even more if you wish like 2.2 or so and it will determine how much oyu need to tweak brigntess also). Play with the settings you see most nicer for your project, in this case 2.0 worked well for this tutorial.
(7) Preview and final rendering
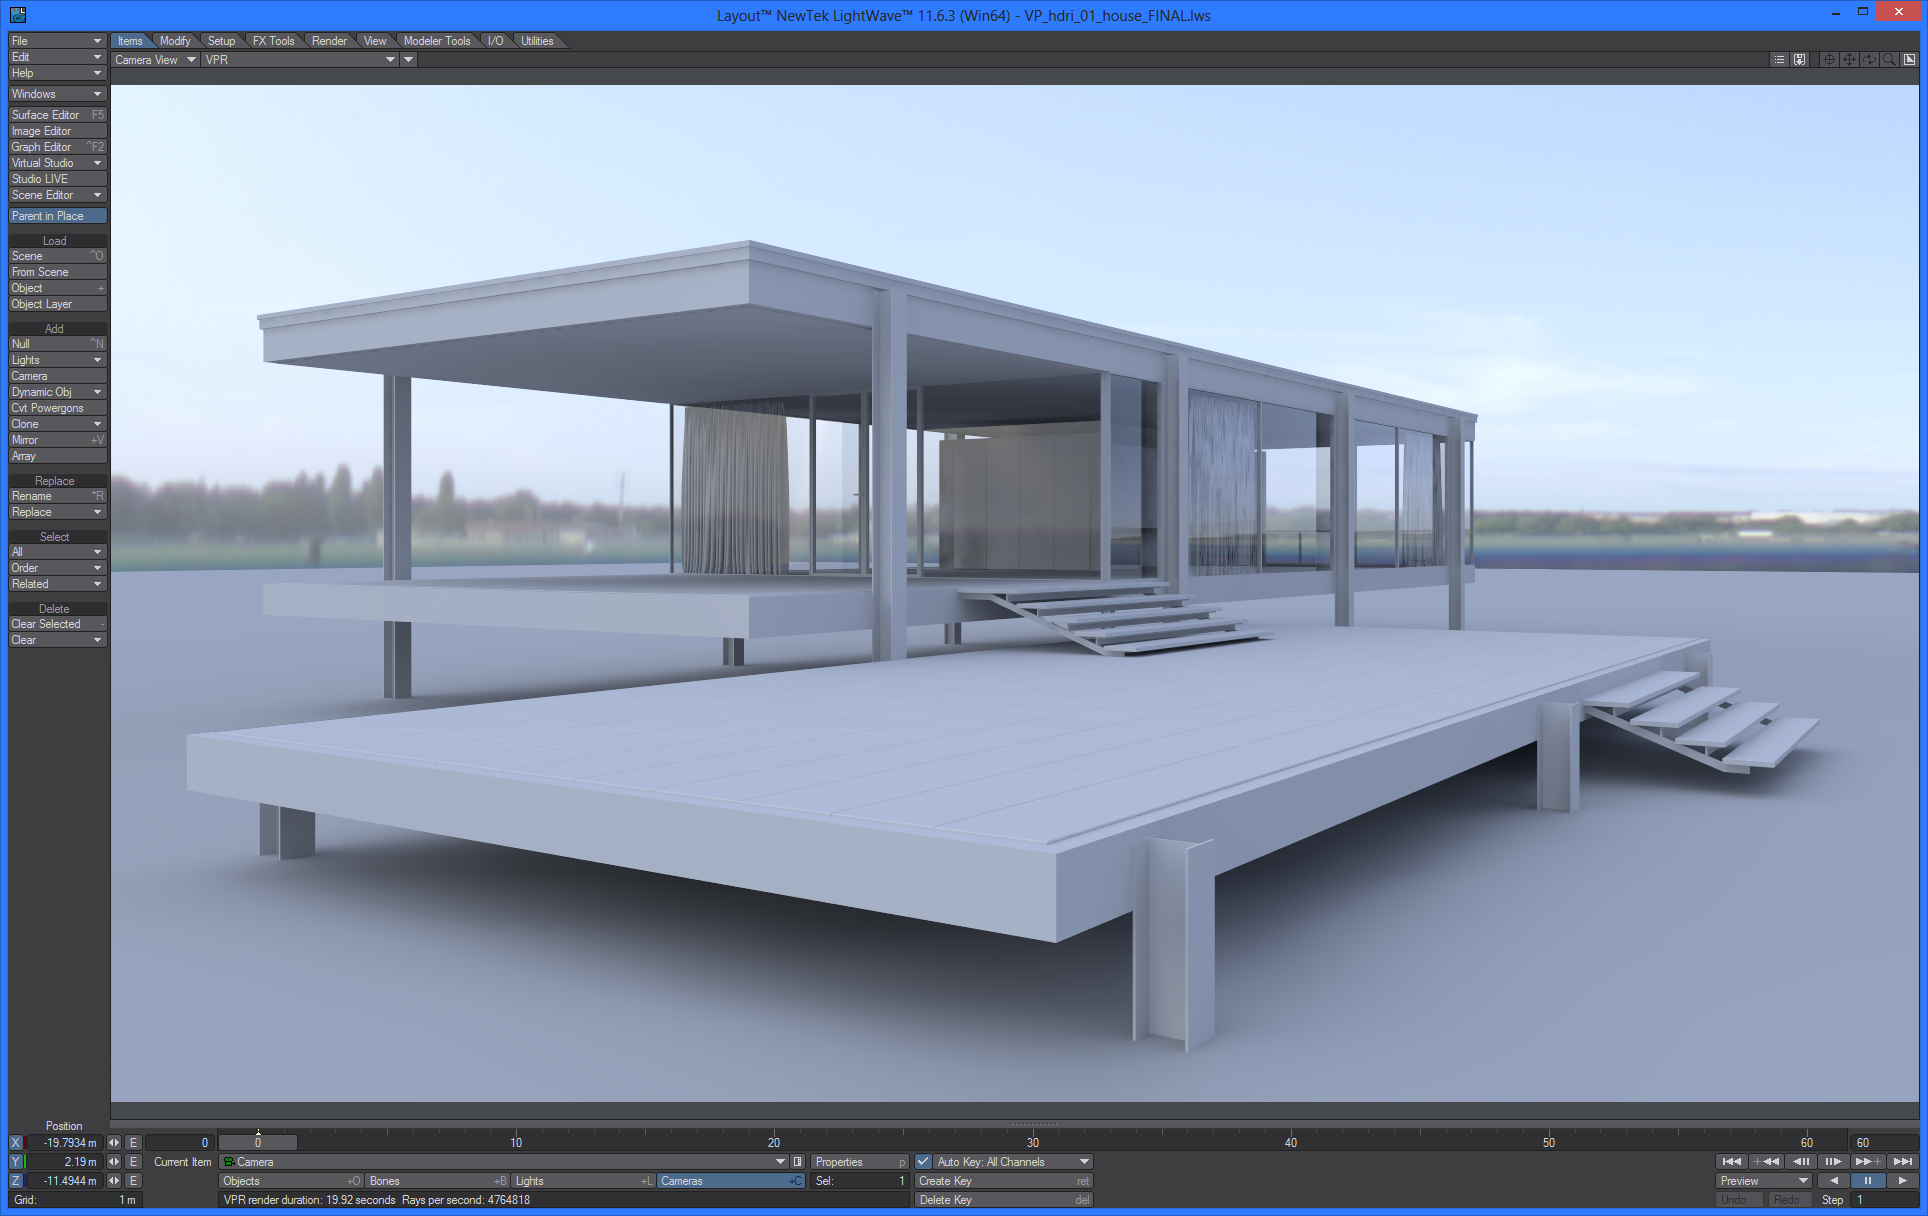
Switch your viewport to Single view (optional) and turn on VPR (Viewport Preview Rendering available in LW 10.x and 11.x +) in “NonDRAFT” mode and you should get a pretty good preview render lit with the HDRI Skydome just in a few seconds.
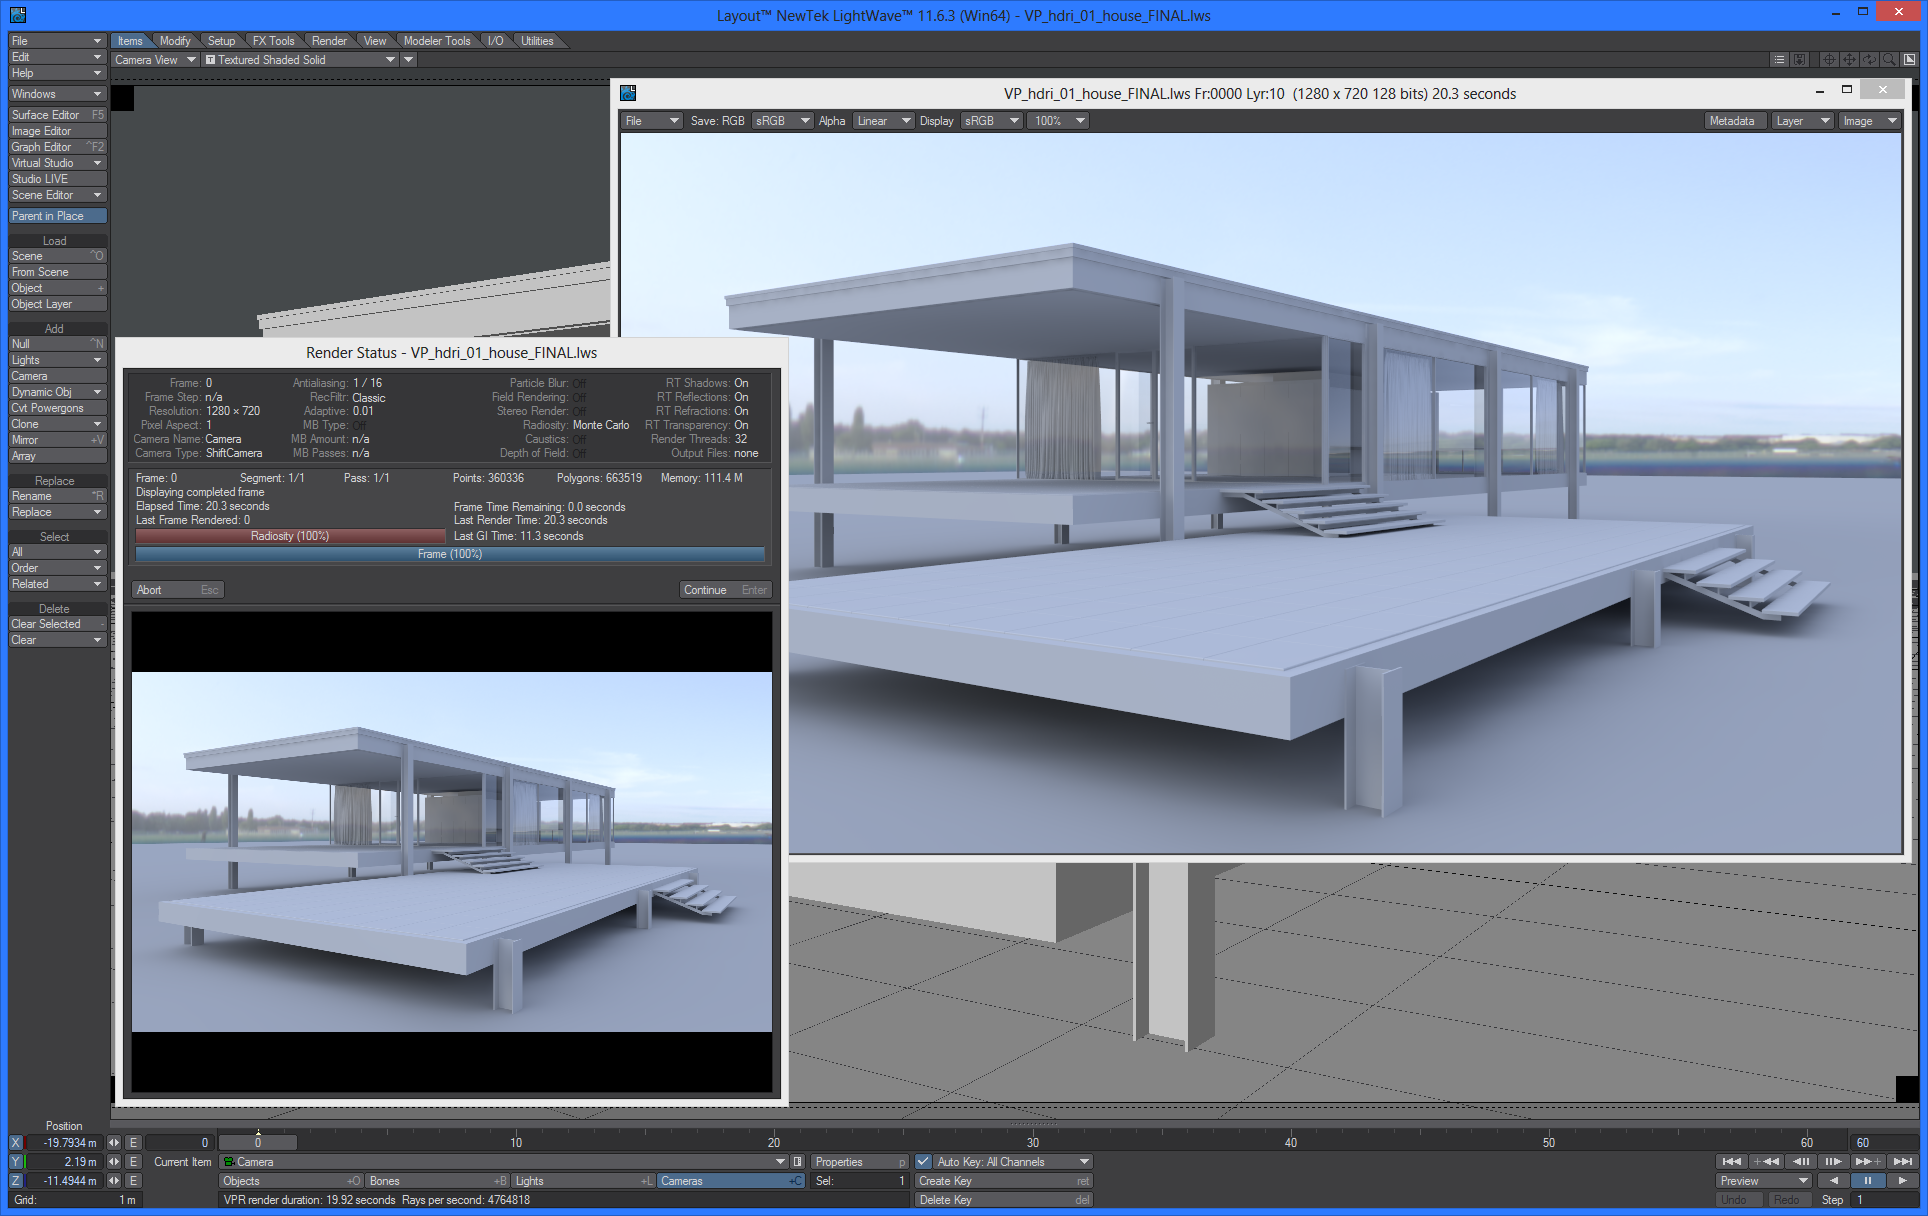
For the final rendering just hit F9/F10 and enjoy watching the rendering of your final image. Depending on the CPU this rendering is quite fast (the rendering in the screenshot just took 20 seconds).
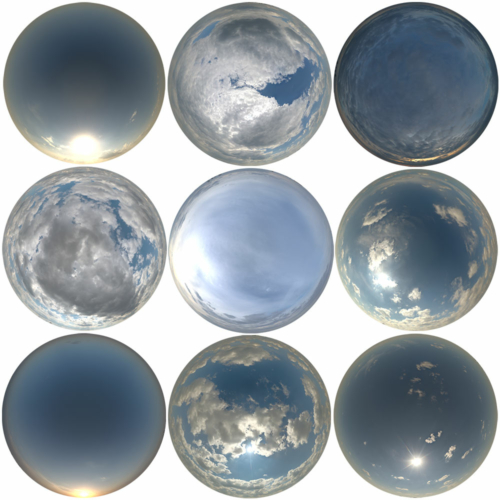
All of the VIZPARK HDRI Skydomes include prepared default scenes for each sky, so you can start quickly with your own HDRI lit scenes.


