Tutorials
HDRI lighting with 3Ds Max and Octane Render
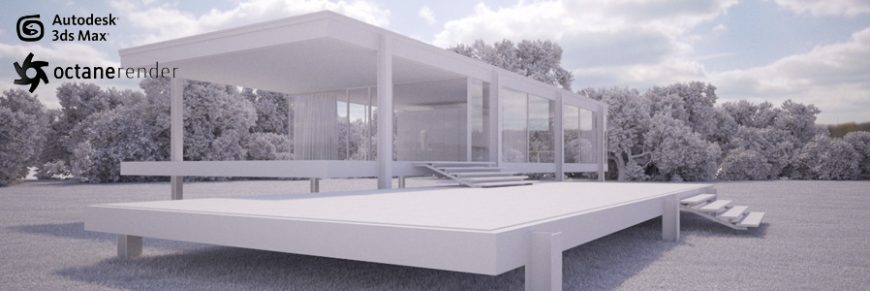
In this tutorial you can learn how how to set up and light a 3ds max exterior scene with a HDRI Skydome and Octane. While HDRI lighting is simple, there are a few things that might help you get better results.
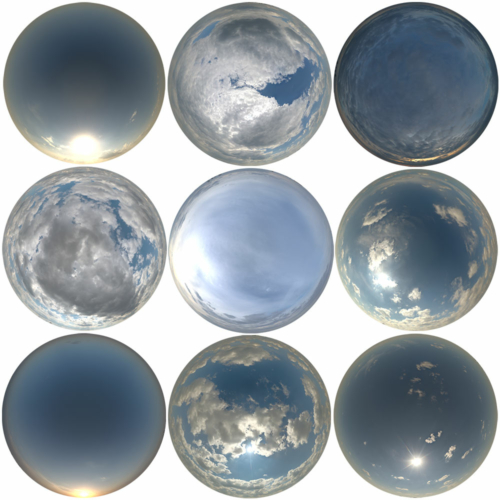
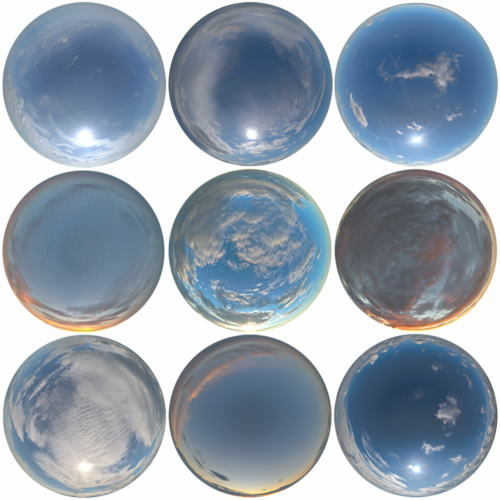
The VP HDRI Skydomes have a very high dynamic range, which is best to create sharp sun shadows. Also, they have an accurate white balance that will bring convincing and colorful lighting into your scene with a few clicks.
Basically, you just need to follow 2 main steps : First to load the hdri skydome you want to use, and second to adjust camera settings such as exposure and white balance.
(1) Load and adjust the HDRI file
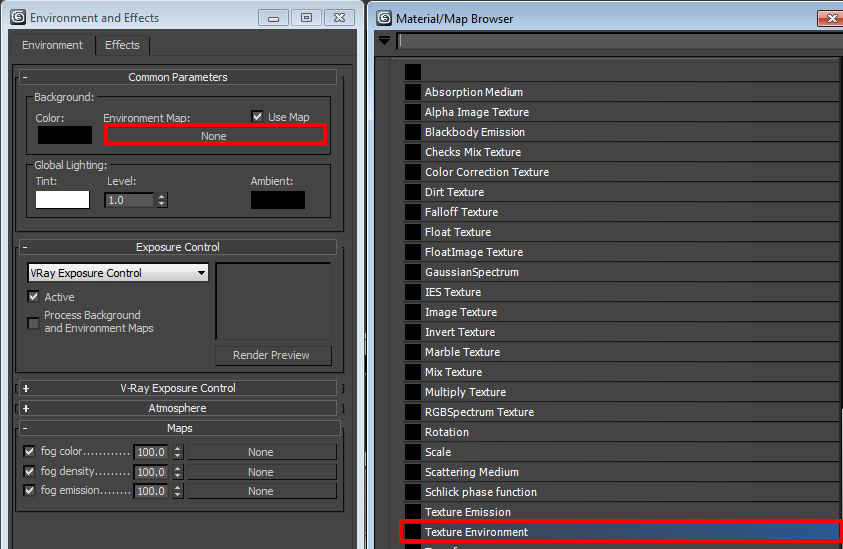
First open the environment and effects panel ( Rendering / Environment .. or shortcut “8” ). Add an environment map and choose Texture Environment. Select your HDRI file.
Set the texture as Texture type, and then add an Image Texture. Load the file in the Image Texture map and set the gamma value to 1. If you want to get sharper shadows you can change the gamma value. Values that usually work good range from 1 to 1,4.
In the Texture Environment parameters : rotation values allow you to rotate the sky ( 0 being 0 degrees and 1 being 360 degrees, therefore 0.5 would rotate the sky by 180 degrees ).
Until this point we have added the skydome file to our environment which will produce the light. In the next point we will treat the camera settings.
In the next point we will treat the camera settings. Before we move onto the next point, letís speak about the gamma setting.
This setting allows colors to have more punch and contrast, in an high dynamic range context it means that bright spots are much brighter than normal, therefore creating sharper and stronger shadows. You can increase this value if you feel the light is a bit too flat to bring more contrasts, or decrease it if the light gets too harsh.
(2) Camera Settings
There are basically two things we want to achieve when setting up the camera: a proper exposure, and an adequate white balance.
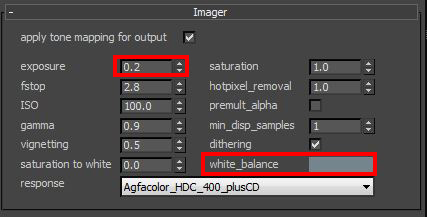
To set this up you need to go to the OctaneRender Settings tab of the render setup panel and find the Imager tab. The most important setting is Exposure, a lower value decreases the overall brightness, and higher value increases the brightness.
The most important setting is Exposure, a lower value decreases the overall brightness, and higher value increases the brightness. Highlight compression helps you to reduce overbright areas in your render.
Finally, the white balance setup helps you adjusting color values. The best way to set it up is to use the color picker and pick on the part of your render you want to be white. Also, sometimes having white areas looking blueish or reddish can lead to a better overall result and is dependant on the mood you try to achieve !
All of the VP HDRI Skydomes include 3ds max scenes with proper light and camera settings, so you can just go ahead and start rendering your own scene.


Do you have the same settings for corona rendering engine?