Tutorials
HDRI Lighting with Cinema4D and vray
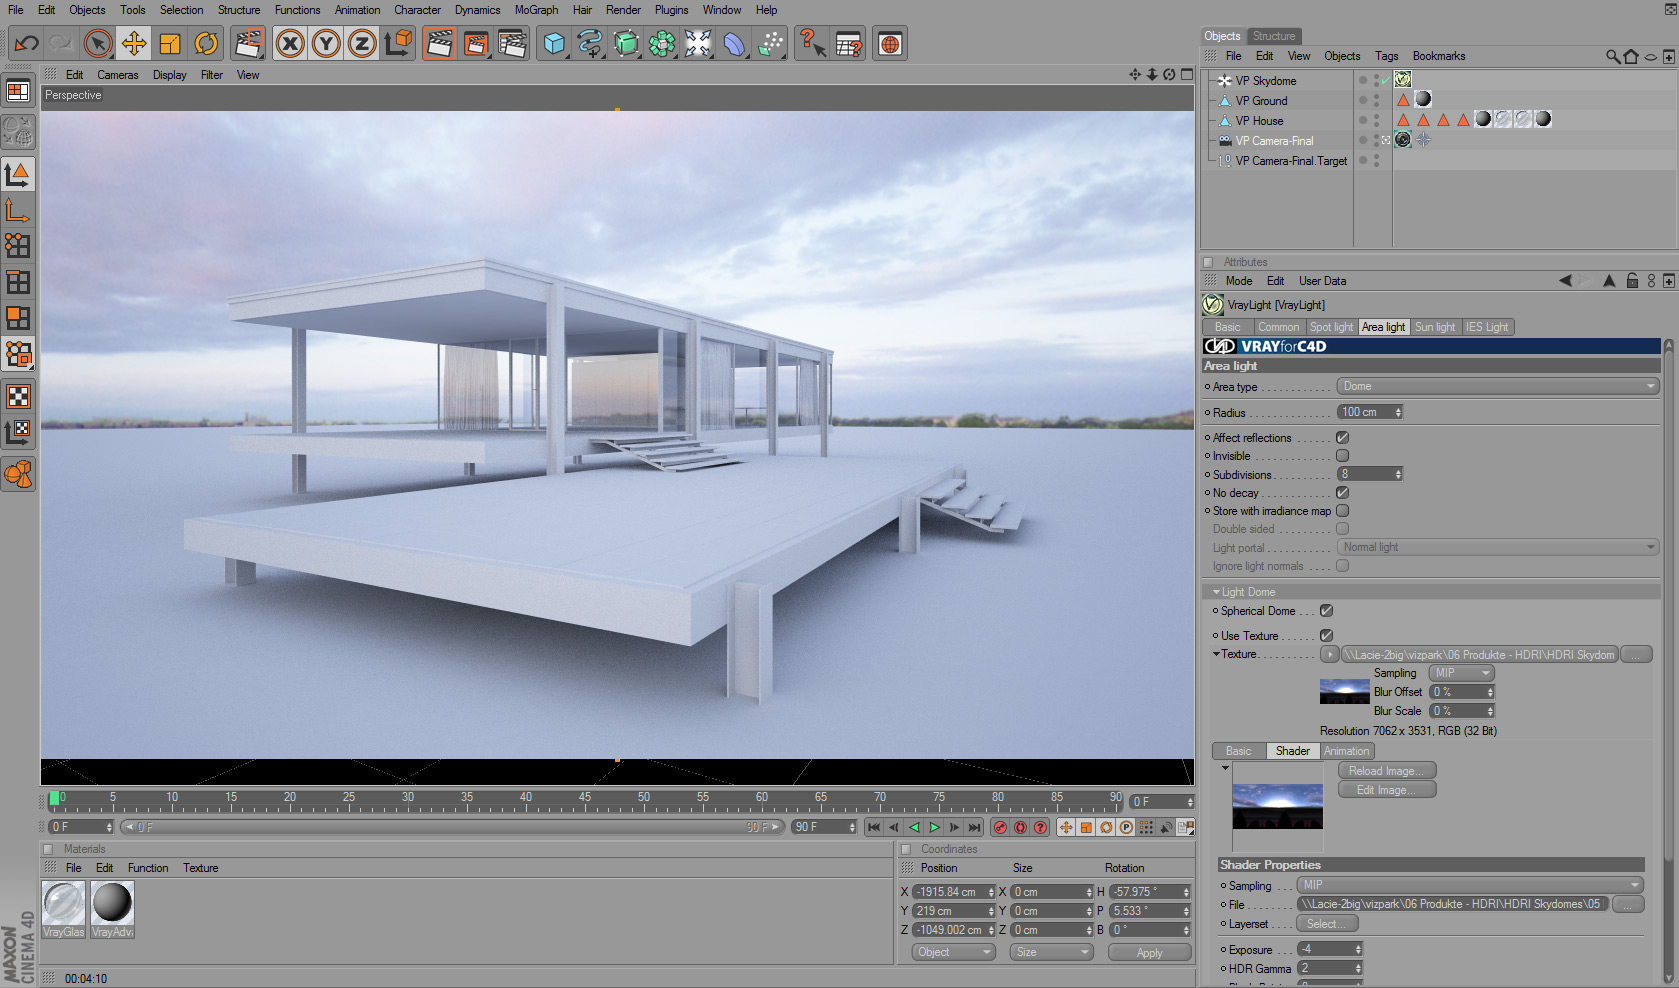
In this tutorial you can learn how you to set up and light a exterior scene with a HDRI Skydome inside of Cinema4D with vray. While hdri lighting is not very complicated it´s necessary to know some details in order to get a good result.
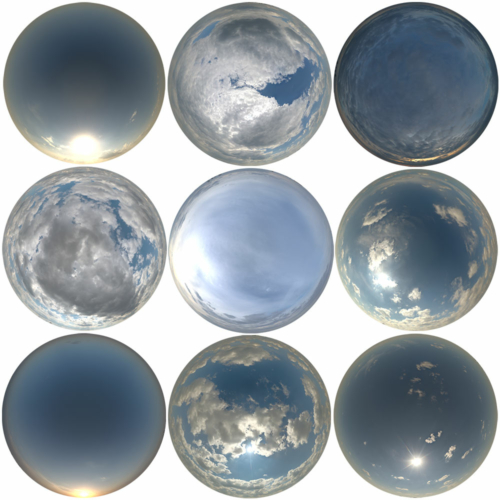
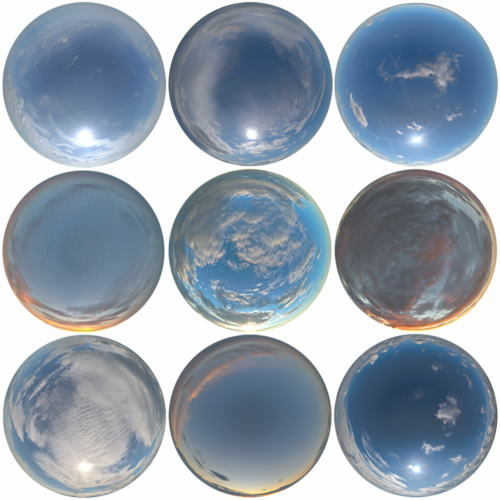
The VP HDRI Skydomes have a very high dynamic range, which is best to create sharp sun shadows. Also they have an accurate white balance that will bring convincing and colorful lighting into your scene with a few clicks.
Basically you just need to follow 3 main steps: First to add an area light, then add the vray tags for domelight and physical camera and third adjust the rendersettings.
(1) Add a vray domelight to your scene
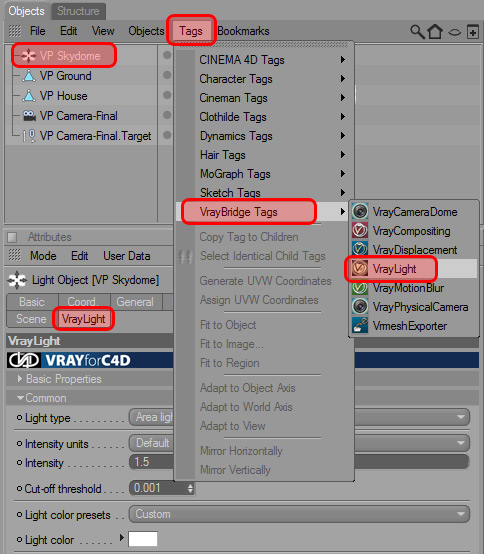
First you have to add an Area Light to your scene. It´s automatically placed and will show the normal c4d parameters and settings. You now have to turn it into a vray domelight.
While the area light is selected, choose VrayLight from the VRayBridge Tags. This will add another parameter block to the light parameters, just related to the vray light.
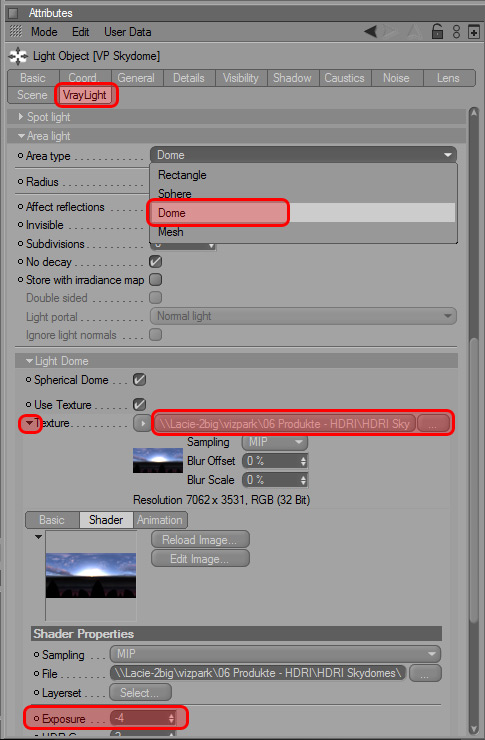
Within these paramters, select Dome from the drop-down menu Area Type.
(2) Load the HDRI and adjust the light settings
Now it´s time to load a HDRI skydome as a light texture. Next to the texture slot click the three “…” and load one of the hdris. You will now see a small preview of your hdri below. If this preview is too light, you can adjust the exposure below. Just open the parameters of the texture by clicking on the small triangle left next to Texture. This exposure parameter will later change the light in your scene and you need to adjust this with the camera exposure to fit your hdri intensity with your camera exposure.
(3) Add a vray physical camera
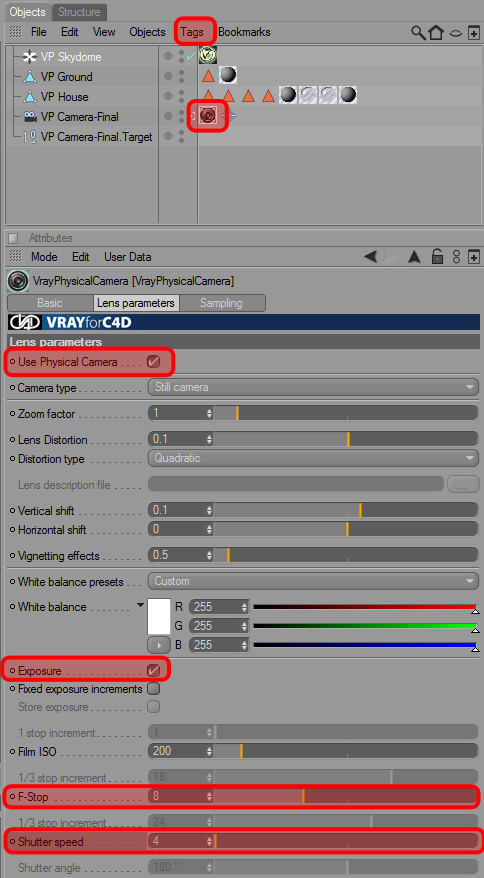
Now it´s necessary to add a physical camera to your scene. If you already have a camera, just add a vray physical camera tag to your camera. Within the vray camera settings you can now adjust the exposure with the F-Stop and shutter speed. These parameters behave the same way like a normal camera and need to be set according to the light intensity of your hdri texture (see above, exposure settings).
(3) Adjust render settings and global illumination
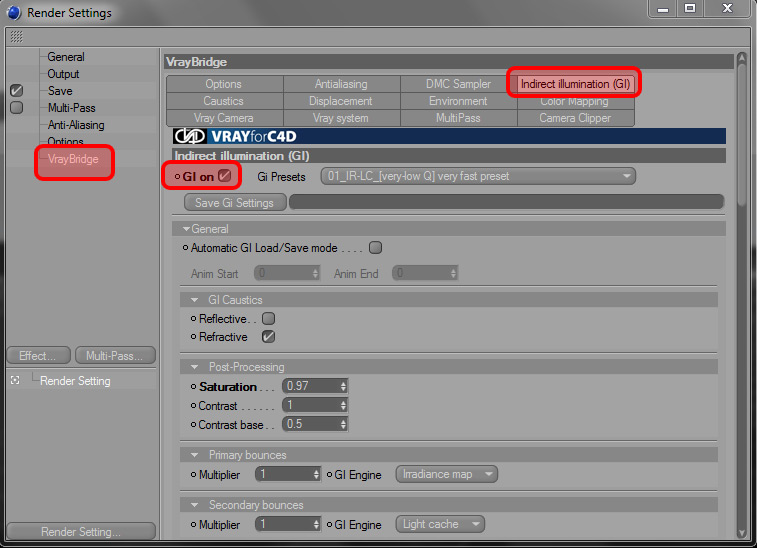
Now that we have set up the lighting and hdri map properly we need to adjust the render settings. You might still see a dark object in your scene, which may be the case, because global illumination is not turned on yet.
So, within the render settings, select vray bridge and then the Global Illumination tab. Turn on GI and you should be read to go.
You still might want to adjust the settings of the light and camera to get a good result. As the light intensity of each hdri can be quite different, you should play around with these parameters a bit to get a good result.
All of the VP HDRI Skydomes include CINEMA4D R11 scenes with proper light and render settings for vray 1.2 and Advanced Render, so you can just go ahead and start to render your own scene.


